Python is nowadays one of the most widely used and popular programming languages because of its simple syntax, straightforward installation, and the support received from the community. Python has many powerful open source projects that are easy to install and deploy, making it useful for a wide range of areas; from research to digital art.
In recent years, Python has also become a preferred choice for enthusiasts in the area of machine learning, with the production of modules that allow users to download and deploy custom AI pipelines for almost any form of deep learning, including the training of agents capable to learn from their environment and solve tasks.
We will begin our course with a general guide on how create simple worlds using the library Pygame. Pygame is a special module that allows for the manipulation of pixels in real time and the integration of user input, making it particularly useful for the creation of games and simple GUIs.

One of the main concerns when people begin their journey with Pygame is that, compared to more formal game engines like Unity, Godot or UnrealEngine, Pygame doesn't have an integrated user interface allowing users to place objects directly in the game. Because everything is done numerically and programmatically, the user often feels discouraged by the overwhelming amount of effort that goes into manually placing objects, even before the actual game rules can be coded.
With the purpose of helping solve this issue, we have created a simple graphic user interface (GUI) for this course. The rlpp_designer is a GUI interface that is part of the "Reinforcement Learning with Pygame and Python" library designed for this book (rlpp). We will use the designer to facilitate the manual placement of objects in our Pygame window. Once the game objects have been properly configured in space, we can export our project to begin the coding process that applies the rules to our games.

Installations
There are a couple of libraries needed, and a Python installation will also be required. As for October 2024, the latest version of Python is 3.12 (we've come a long way!!!).
There are two main ways to install Python in our operative system (Linux, Window or MacOS). A standalone version will install the executable files for Python in your computer, along with some very important libraries that allow Python to communicate with multiple parts of your machine. This form of installing Python is perfect if you will destine your Python applications to only certain types of projects. Examples include:
- Running a server to maintain a website using the library Flask
- Using Python for simple programs that make use of the default libraries like random, or math
- Using a particular library, downloaded from the Python Package Index (PyPI) via pip, with the intention of mostly using Python for the application(s) that require such library (or libraries)
The issue with a standalone installation is that over time, some libraries can go out of date (once Python installs them, libraries are not automatically updated). As the field moves forward, new libraries are released that require the same library you already have, but in a higher version!
But why is this a problem? While most of the time the libraries don't conflict each other, sometimes they do, and you would need to decide which project will be sacrificed and will no longer be able to run in your machine.
While several solutions exist for this conundrum, the most widely adopted technique is to encapsulate your versions of Python into what is known as an environment. An environment is a bubble that keeps the packages enclosed with all libraries at a specific version. While it is possible (and advisable) to make use of Python venv, we recommend the use of a more sophisticated environment manager called Anaconda.
Installing Anaconda
Anaconda comes in two versions: conda and miniconda. The difference, as the name may suggest, is related to the amount of space in the computer the final installation will take. While conda installs over 1,000 libraries along with Python (conda is often used in computer science), miniconda only installs the basic stuff. For traditional desktops like laptops and workstations, conda is often the way to go, simply because there are less libraries to install from the beginning.
To install conda, you can access the oficial Anaconda Distribution's website.
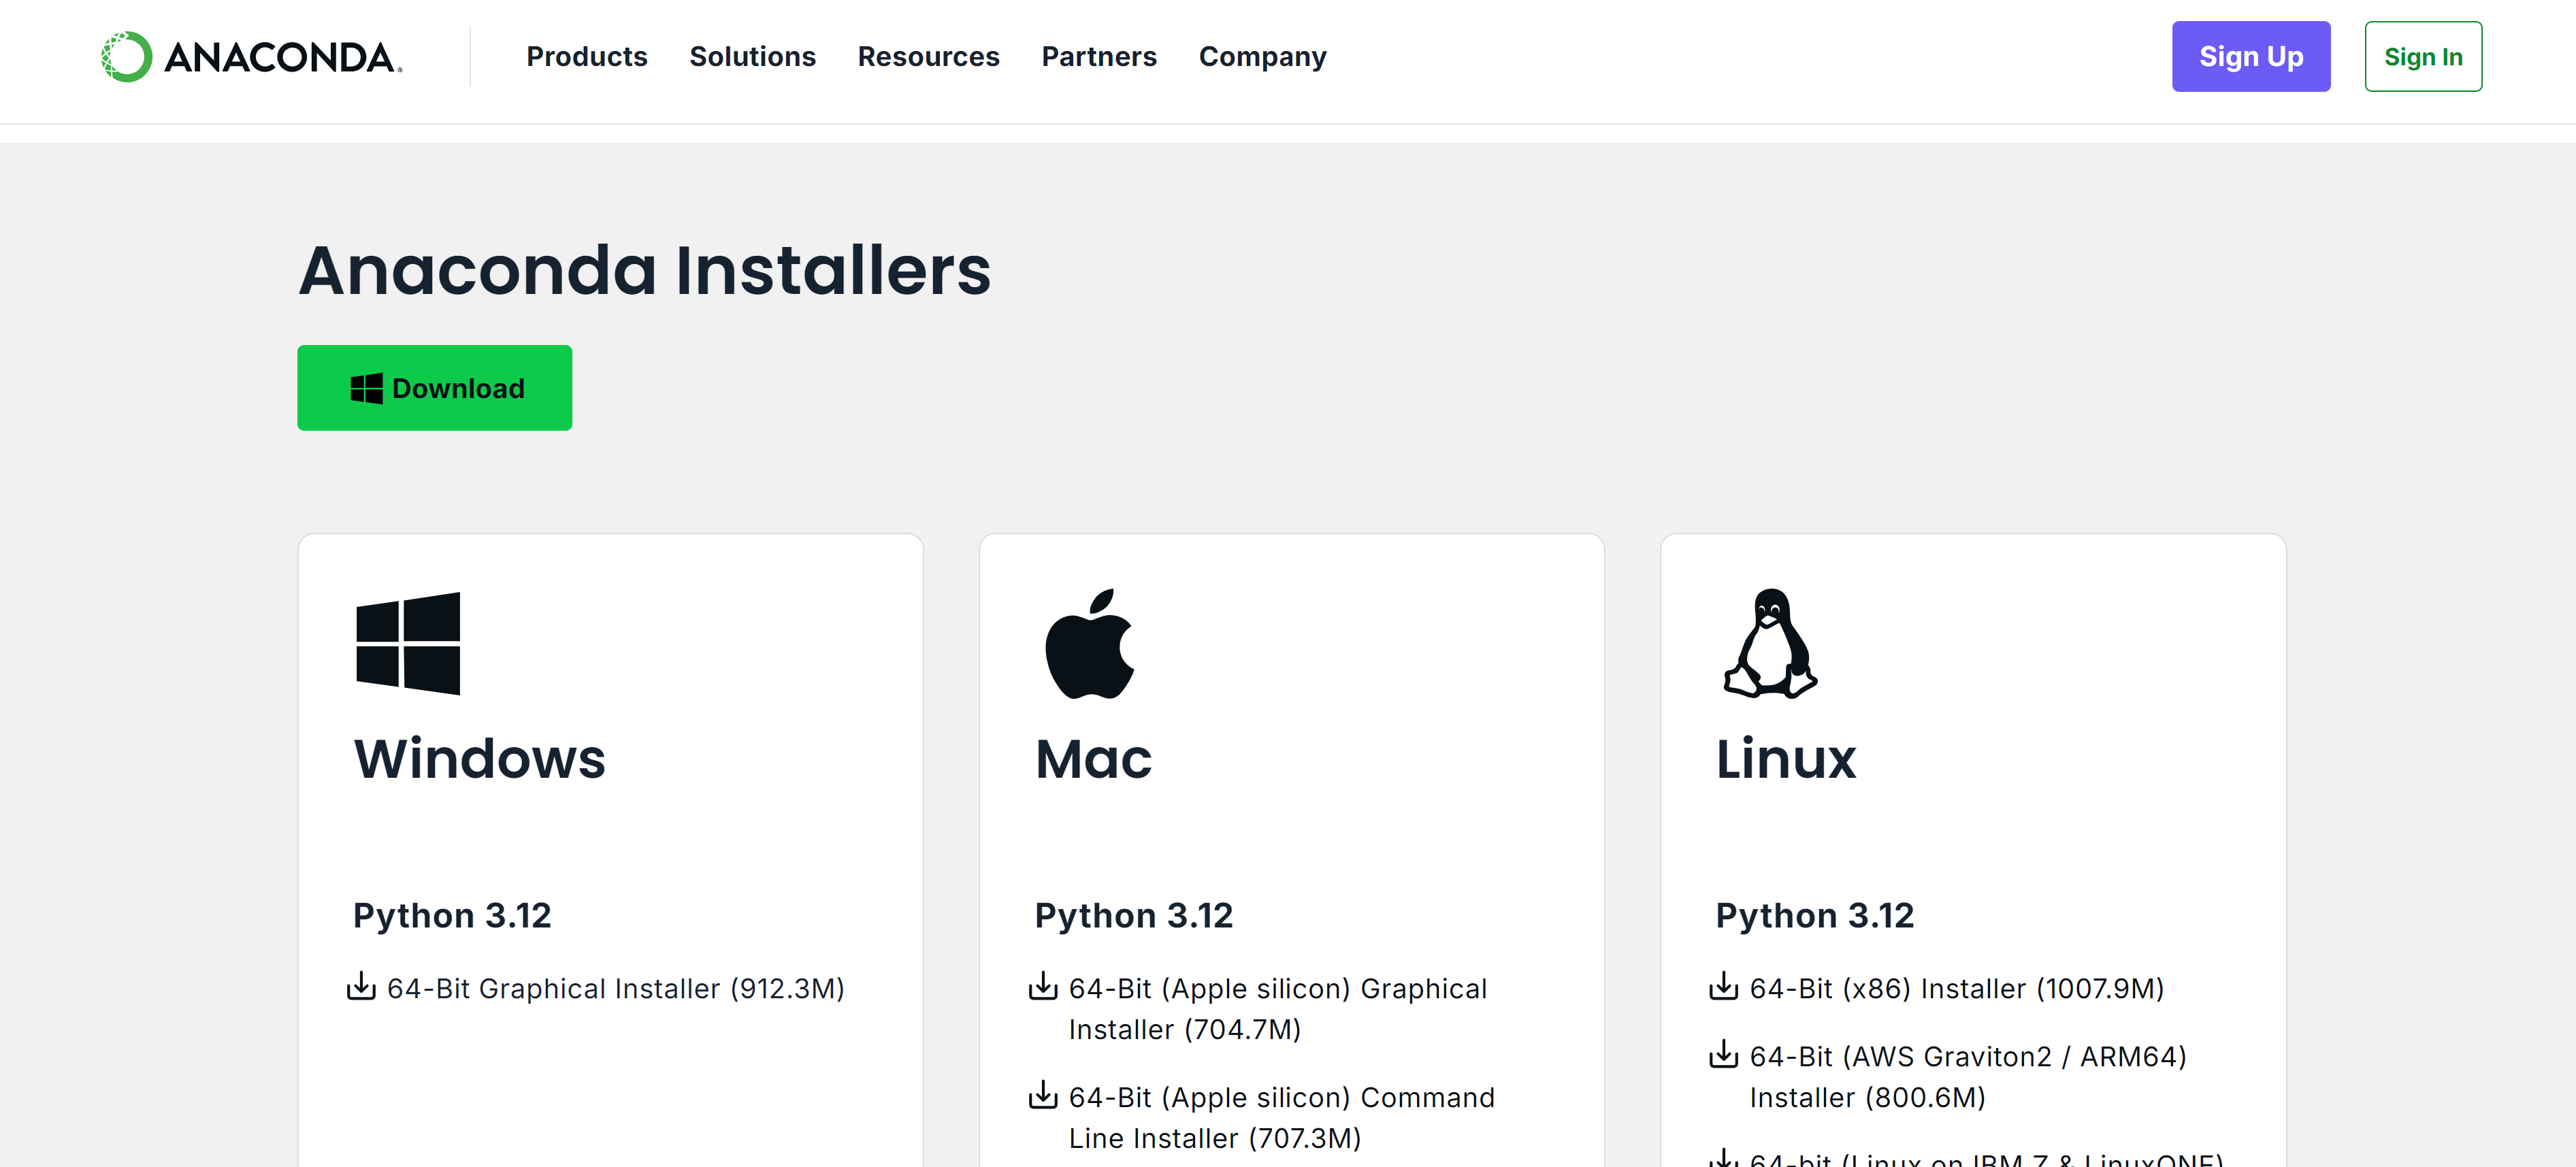
Once you download the executables required for your operative system, you can open the installer. By doing so, the program will define a path in your computer to download the files, and it will provide options for the type of permissions that Anaconda (and Python) will have from there on.
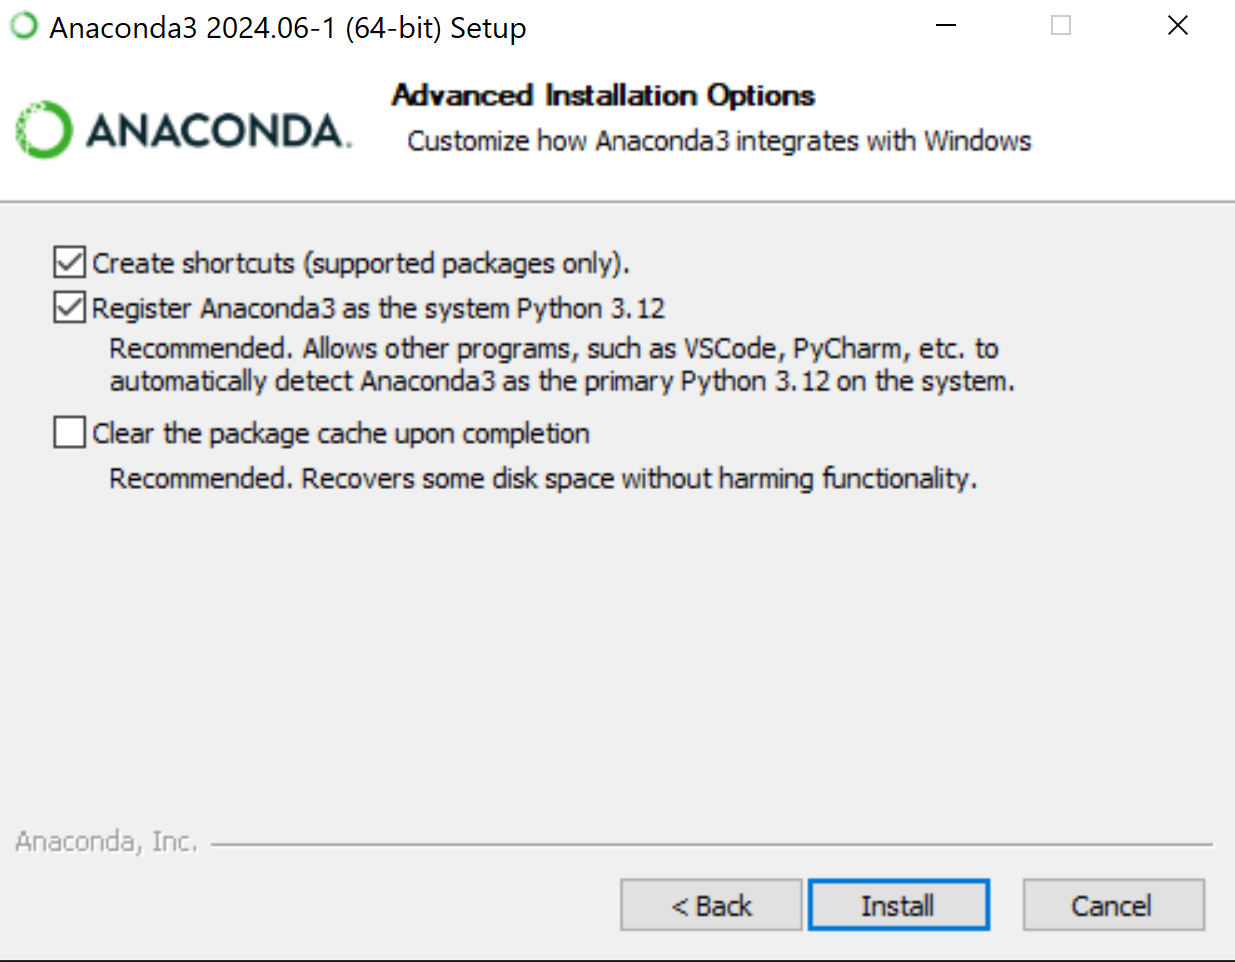
One of the most important elements in this menu is the option Register Anaconda3 as the system Python 3.12. Enabling this box will make the installation of Python in coding editors easier.
With your installation complete, it's time to use Anaconda for the first time. You can interact with Anaconda with a Terminal window. The Terminal window is another view of your computer that relies only in text ASCII input, and represents the backend, or raw view, of your operative system. While some tasks are not as enjoyable to do only by typing commands into a black screen, a Terminal is essential when working with programming languages and changing things in our machine programmatically (using computer logic).
But wait! It could be dangerous giving Anaconda complete access to the Terminal window because it could override other versions of Python that are needed by other programs to run (even if such programs don't seem to have anything to do with Python). One of the biggest examples is the rendering and 3D modeling software Blender, which requires Python 3 to run.
Instead of using the Terminal Window directly, Anaconda installs a special version of Terminal called the Anaconda Prompt. In this window you will notice the following line:
(base) C:\Users\MyUserName
Here, (base) represents the current environment we're in. This means we have access to a particular version of Python (3.12 if Anaconda was installed late in the year 2024) and many libraries associated with it. To get access to the libraries installed in the based environment, we can run:
conda list
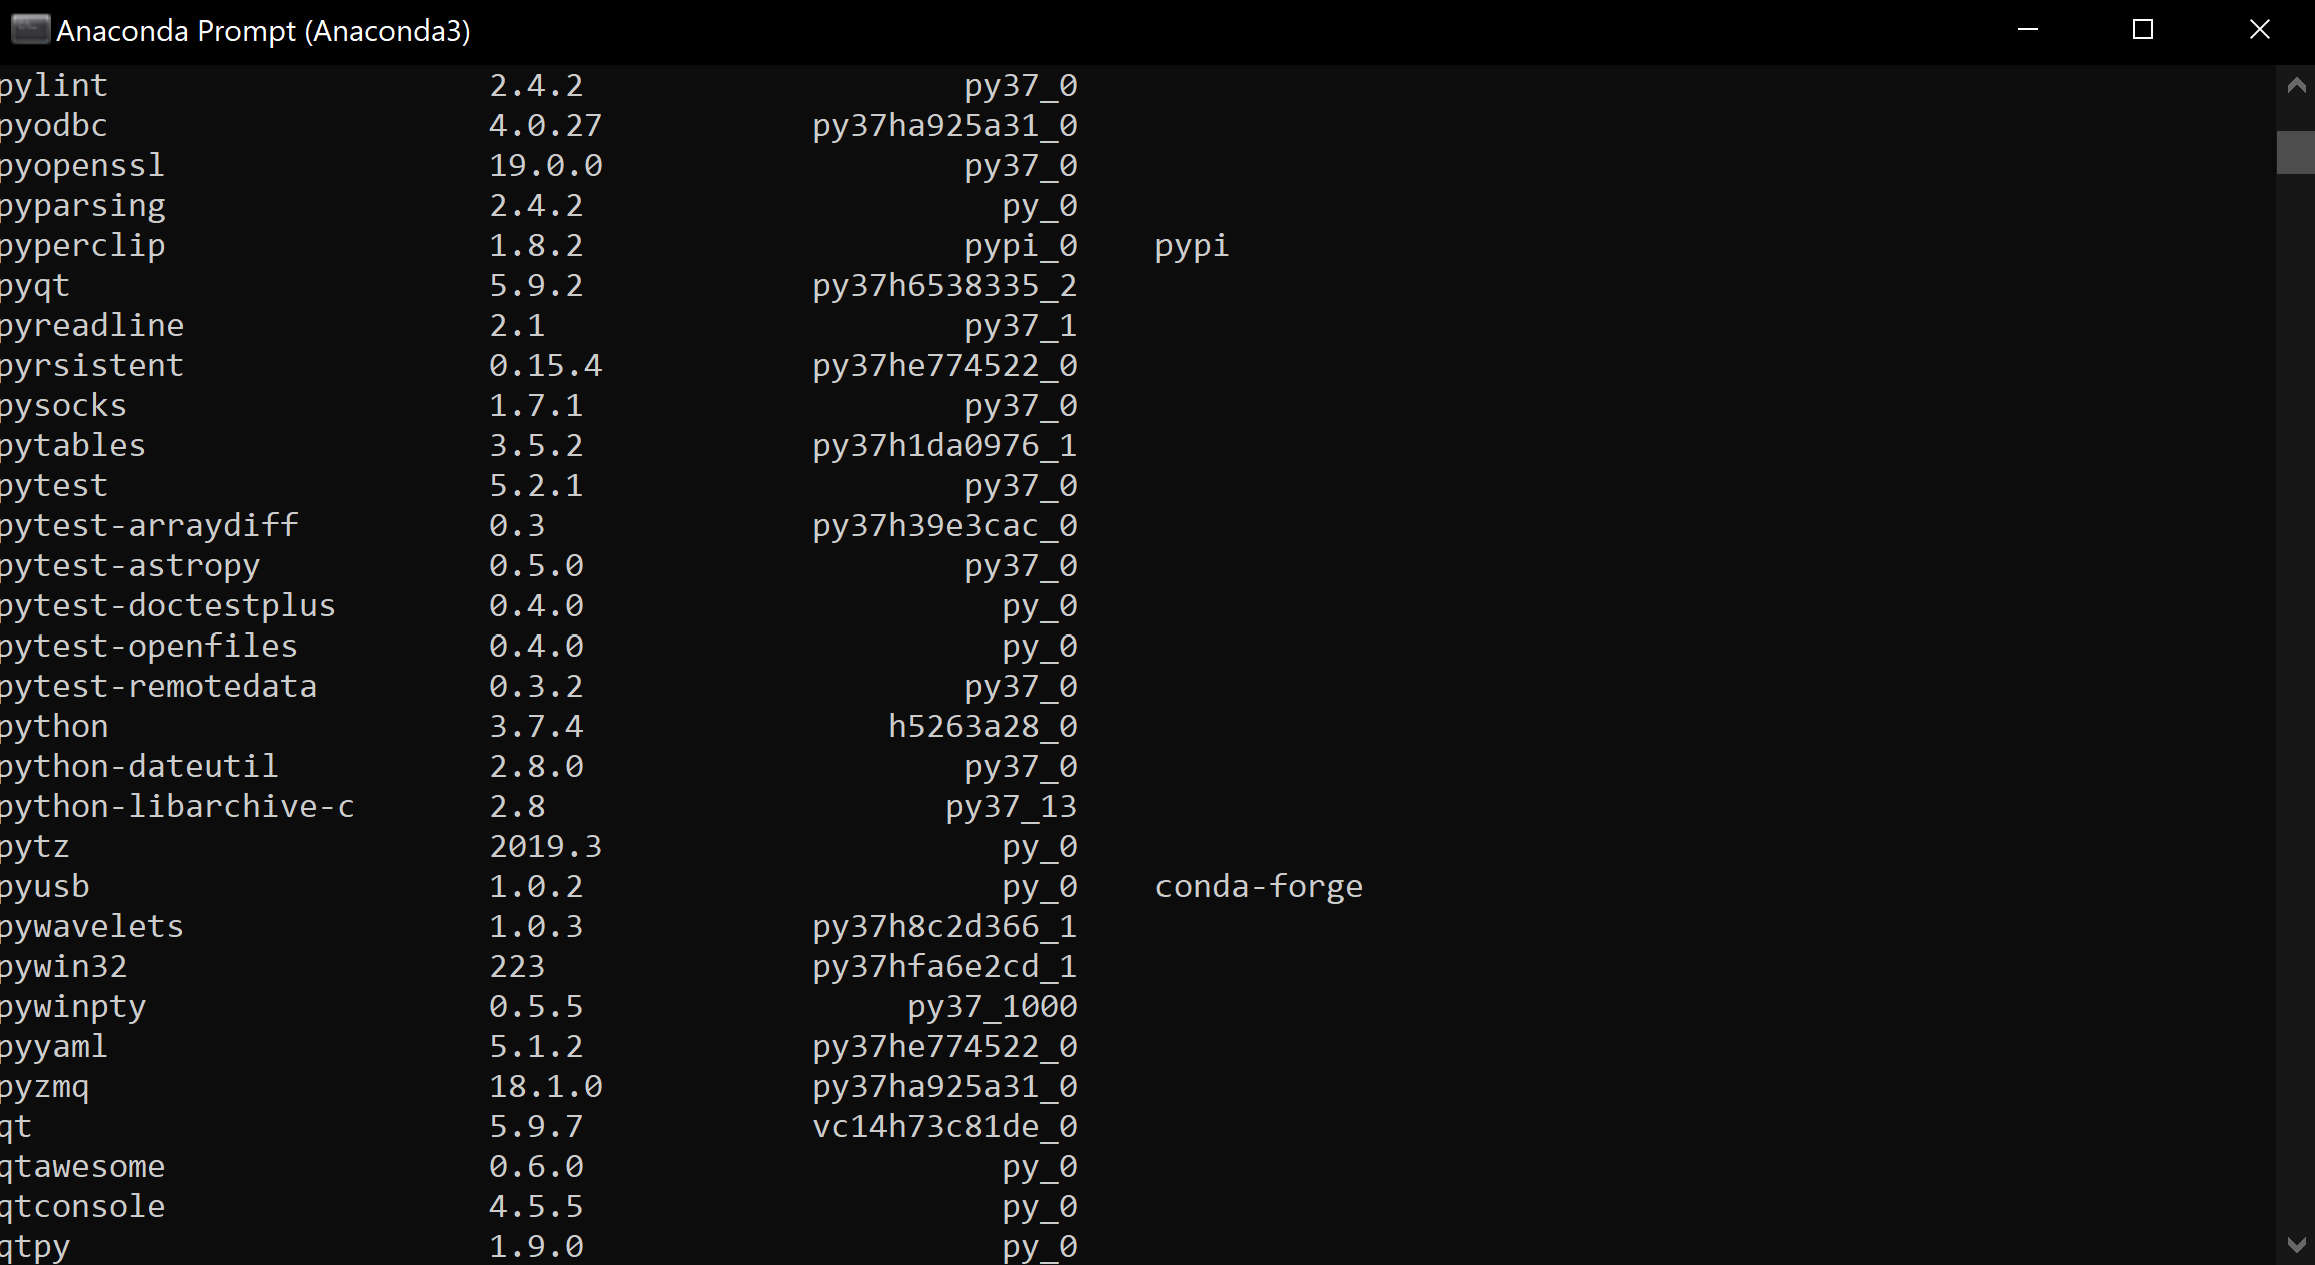
Here we can see the list of libraries that are associated with our environment base. However, the library Pygame is not in the list by default, and that provides an opportunity to generate our first environment.
Creating an environment that contains Pygame
As previously mentioned, Pygame is a special library that allows the user to create game-like applications. To create our first environment we can open the Anaconda prompt terminal and type:
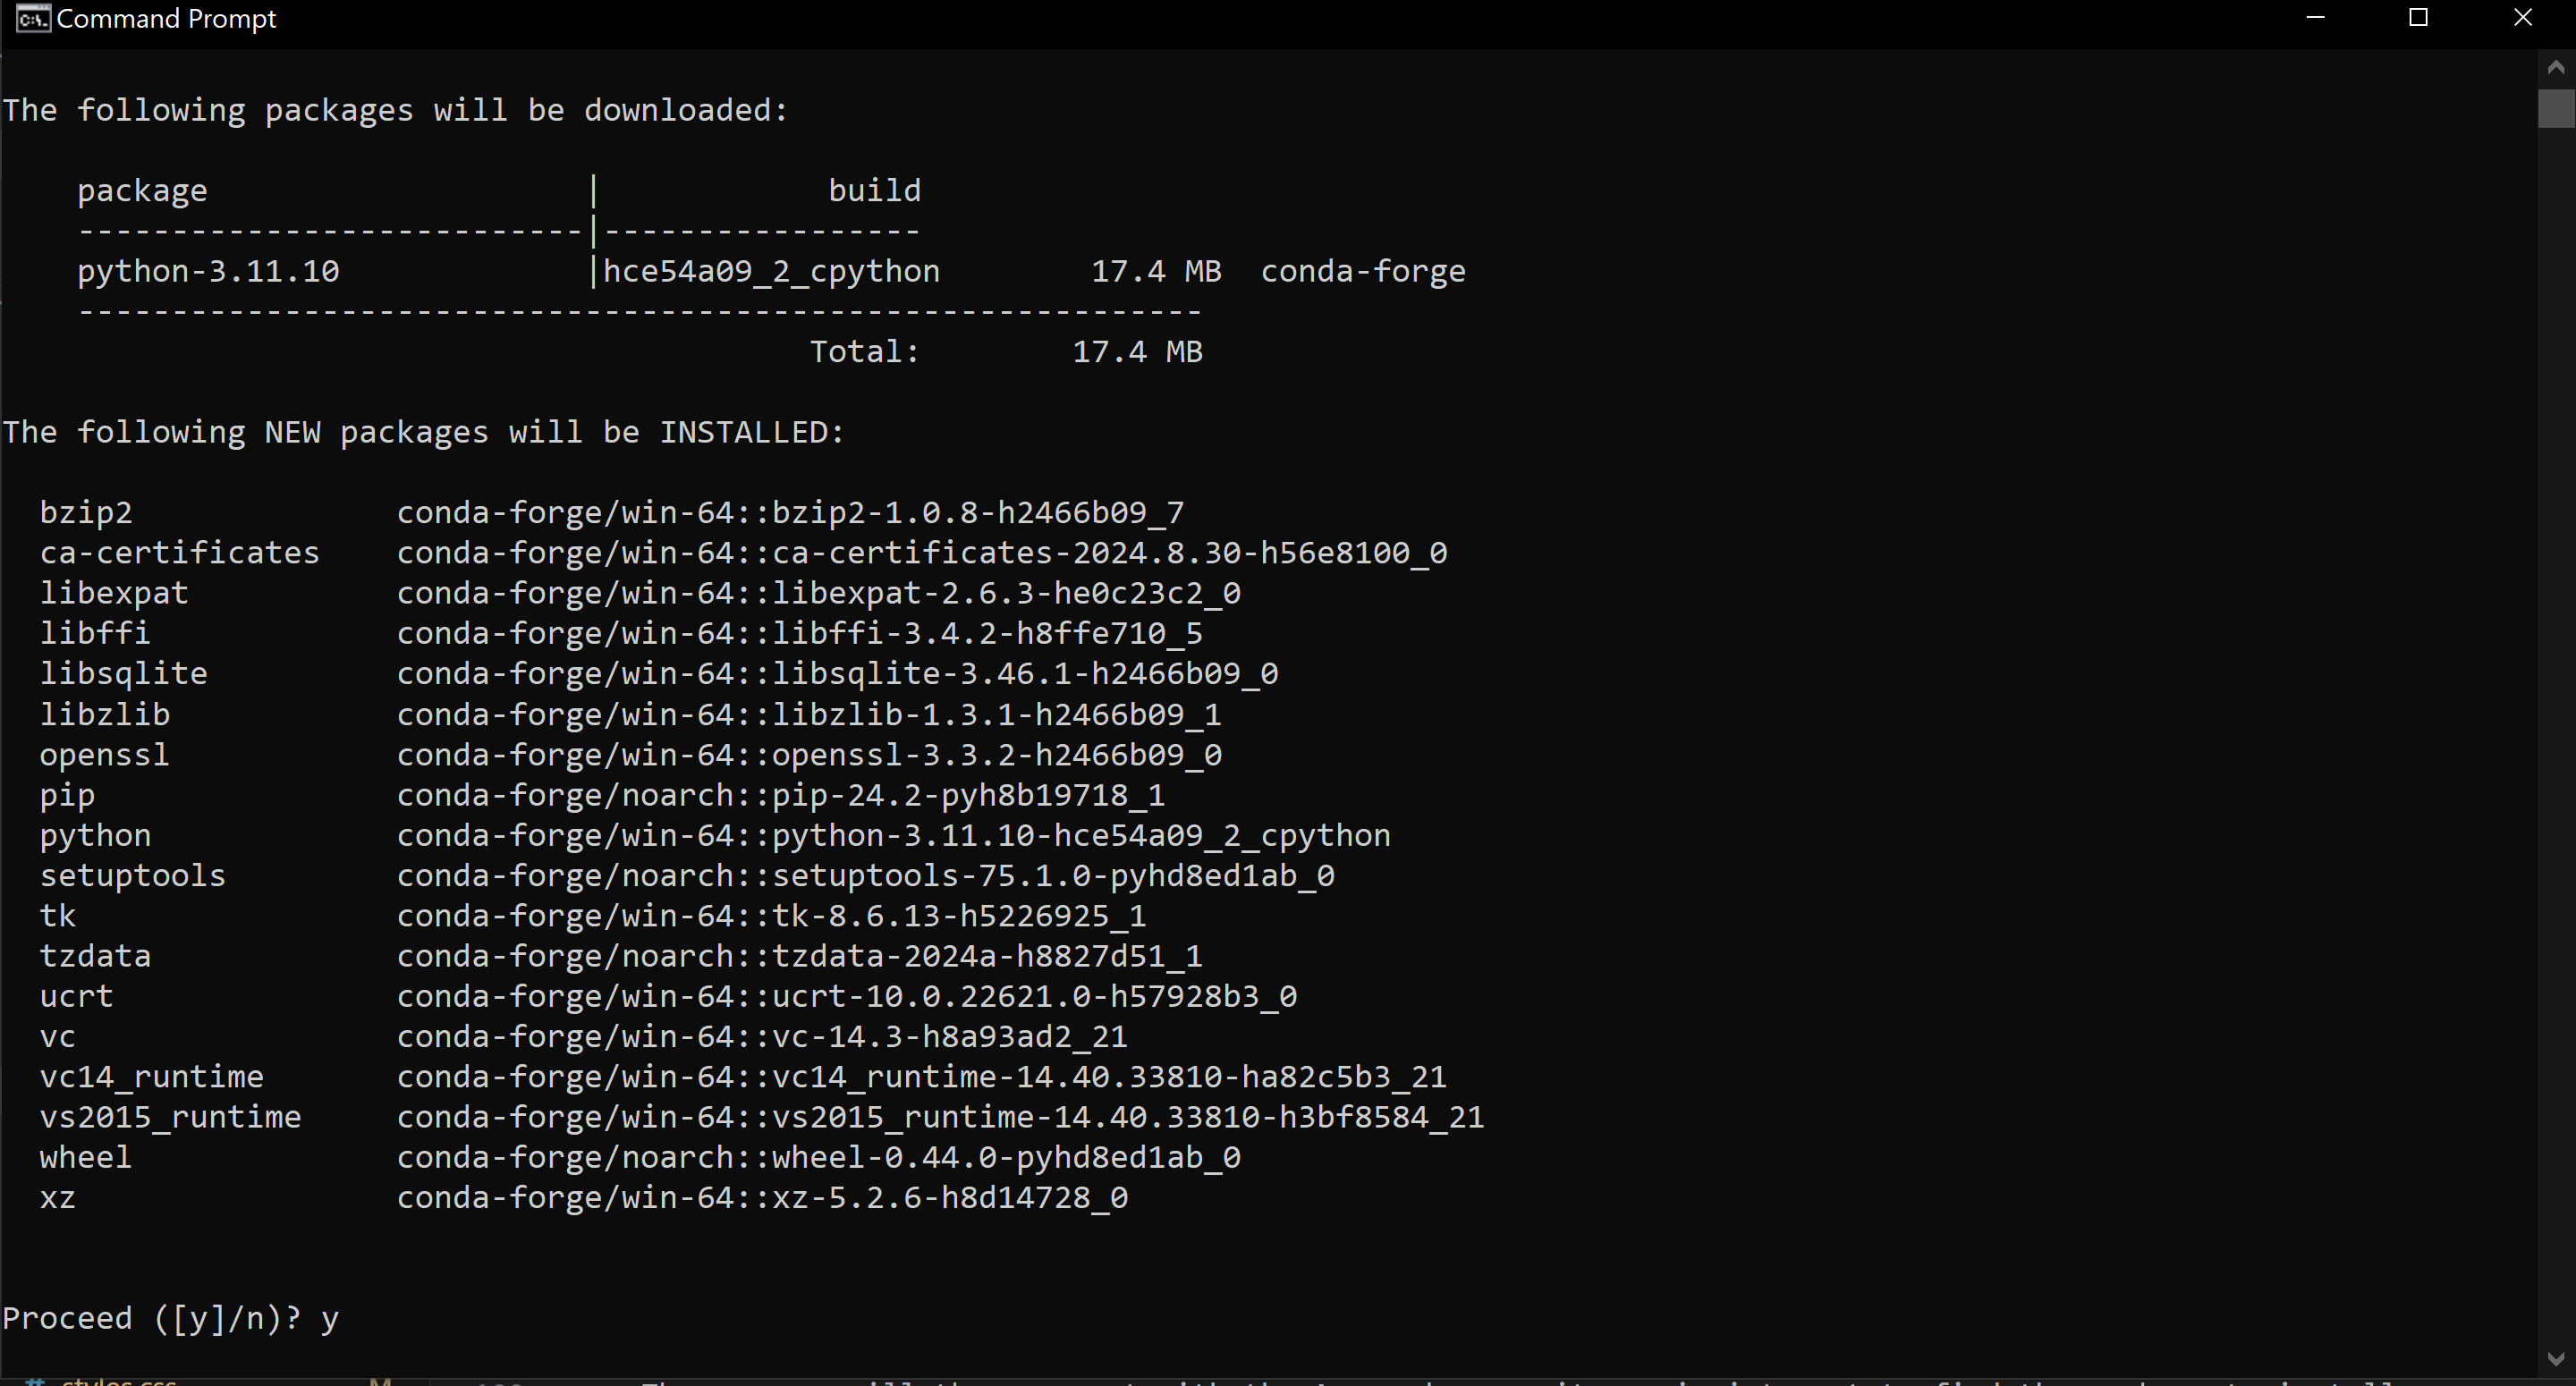
conda create --name pygame_env python=3.9
Once the new environment has been created, we can activate it with the command:
conda activate pygame_env
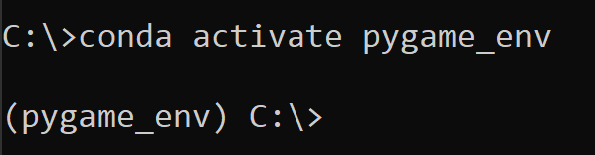
Notice the (base) has been replaced for the name of our new environment (pygame_env). This is important and is letting us know we are using and modifying that specific version of Python.
The next step is to install the Pygame library. The good news is that the rlpp library will install it for you along with the GUI rlpp_designer. Although the rlpp library can't be found by Anaconda, we can easily install it using the official Python's package installer (pip):
pip install rlpp==0.4.2
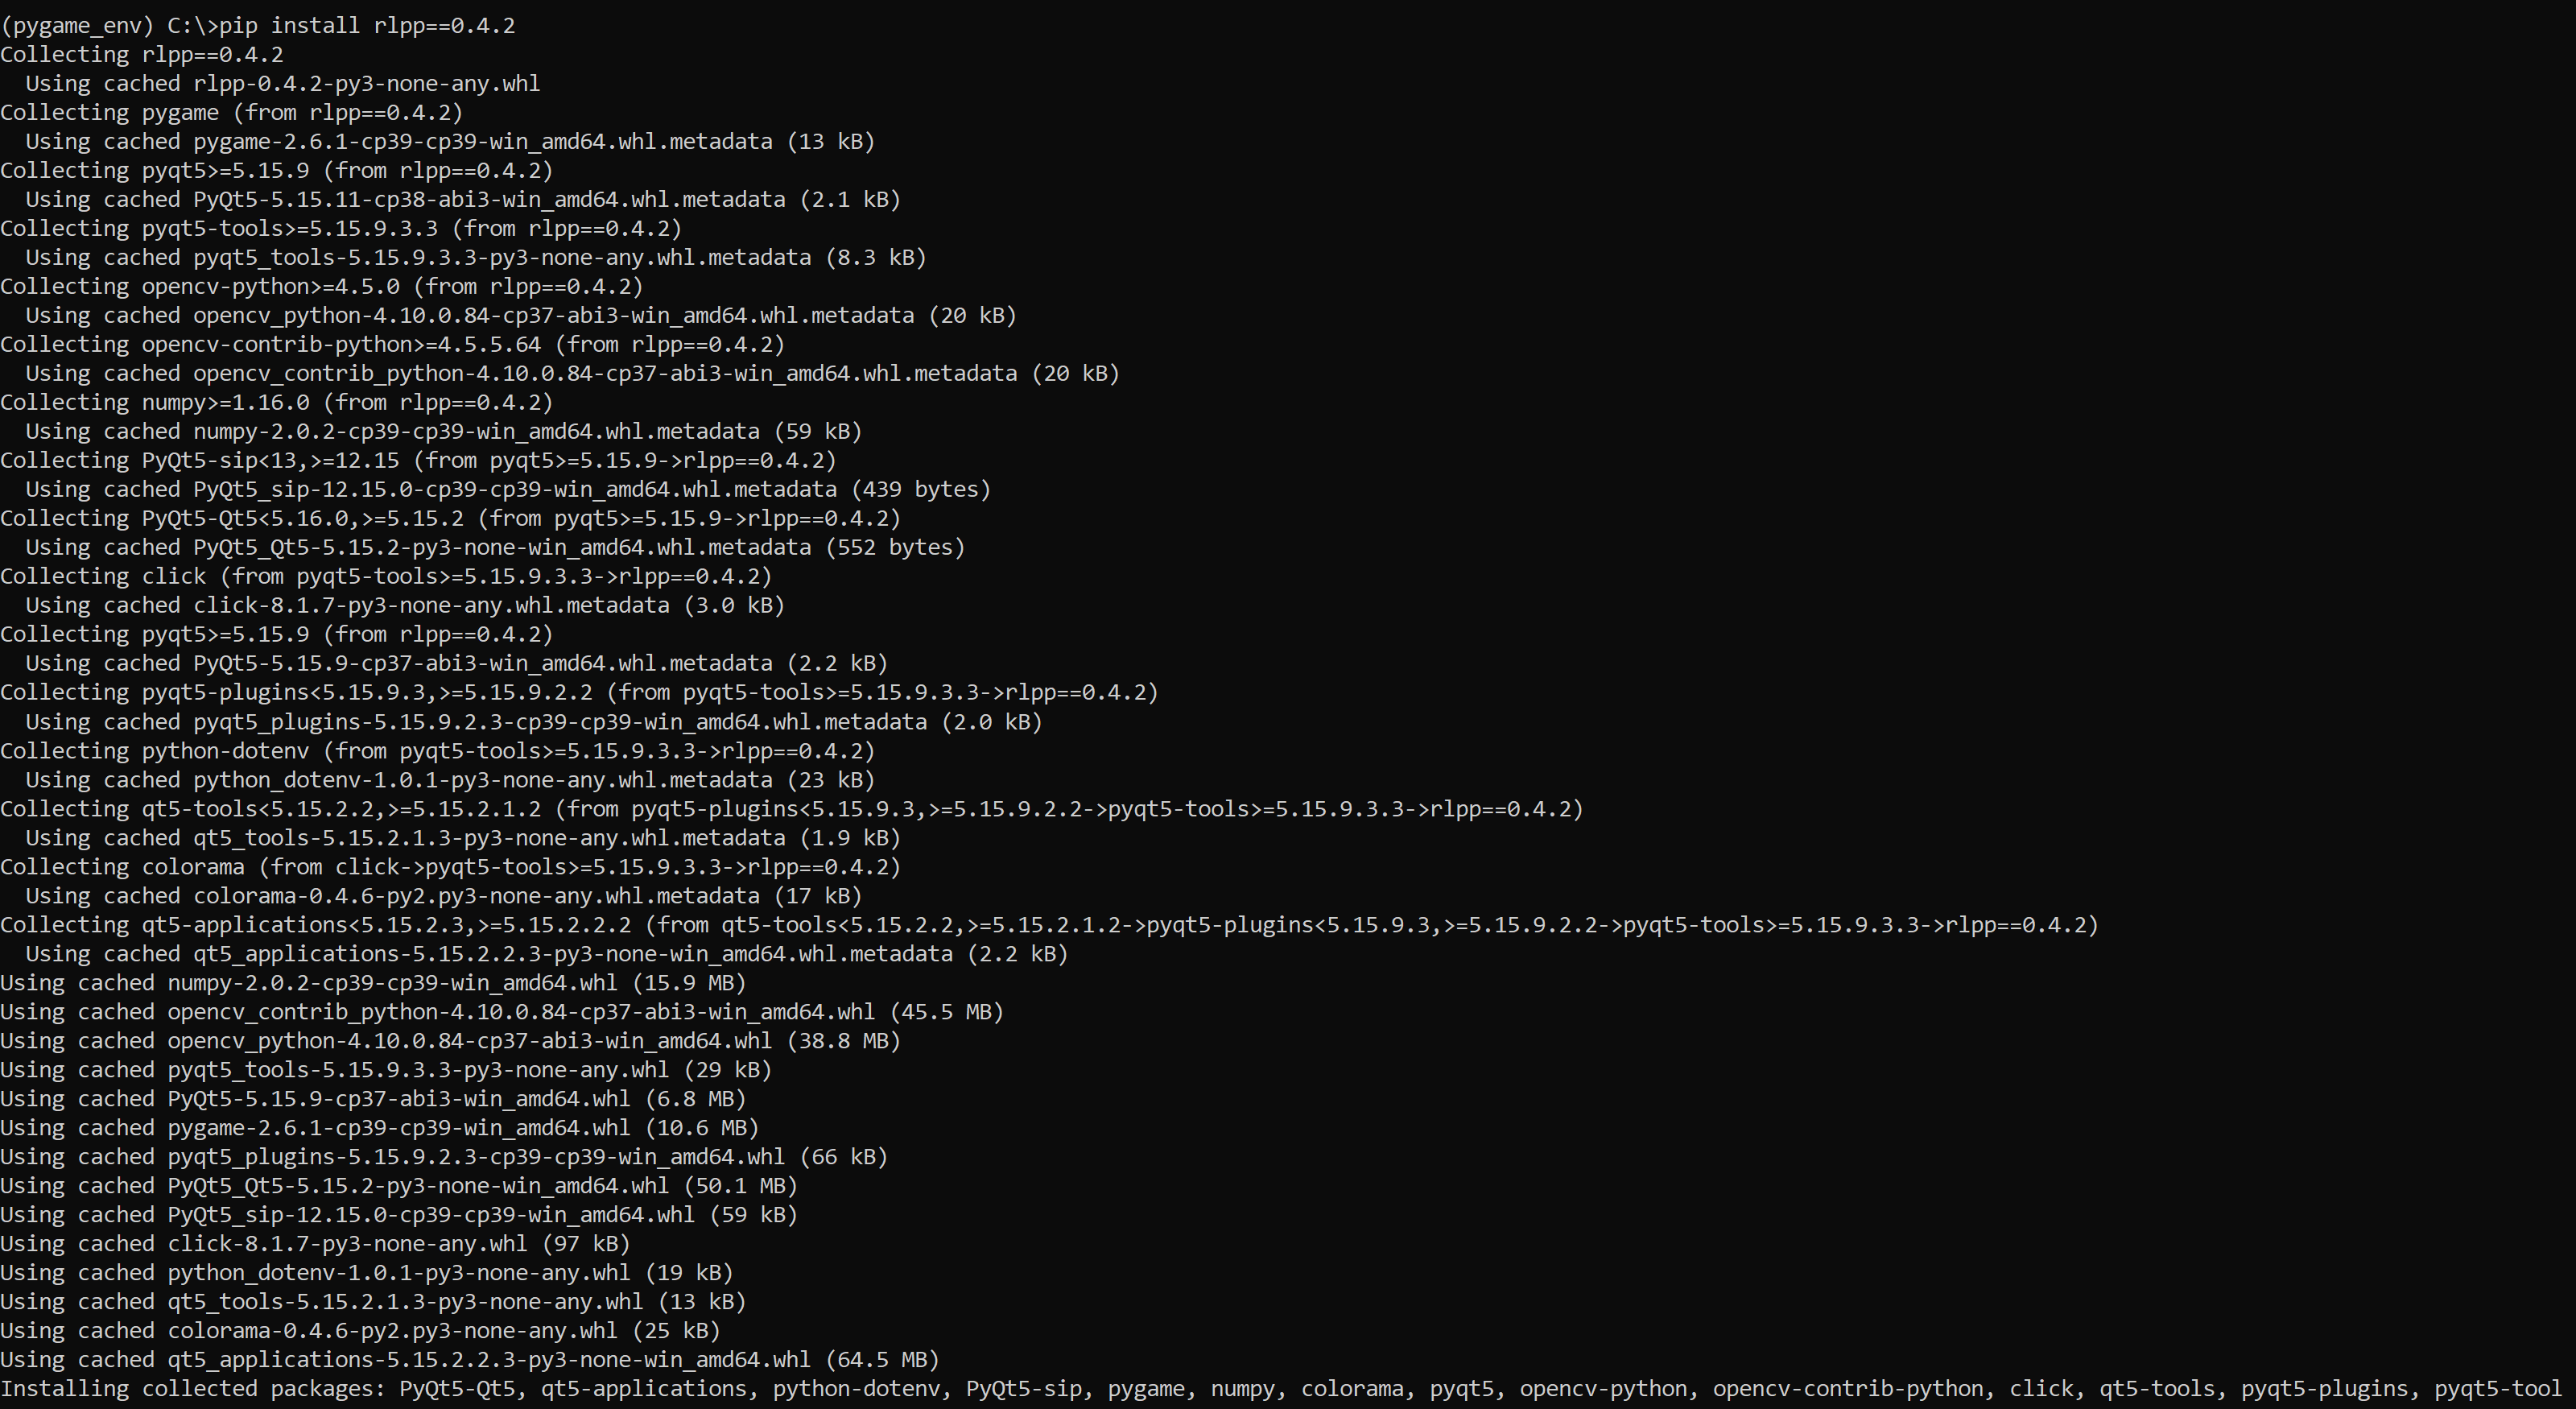
The Reinforcement Learning with Pygame and Python package will install the libraries Pygame, and pyQt5, which it requires to run smoothly.
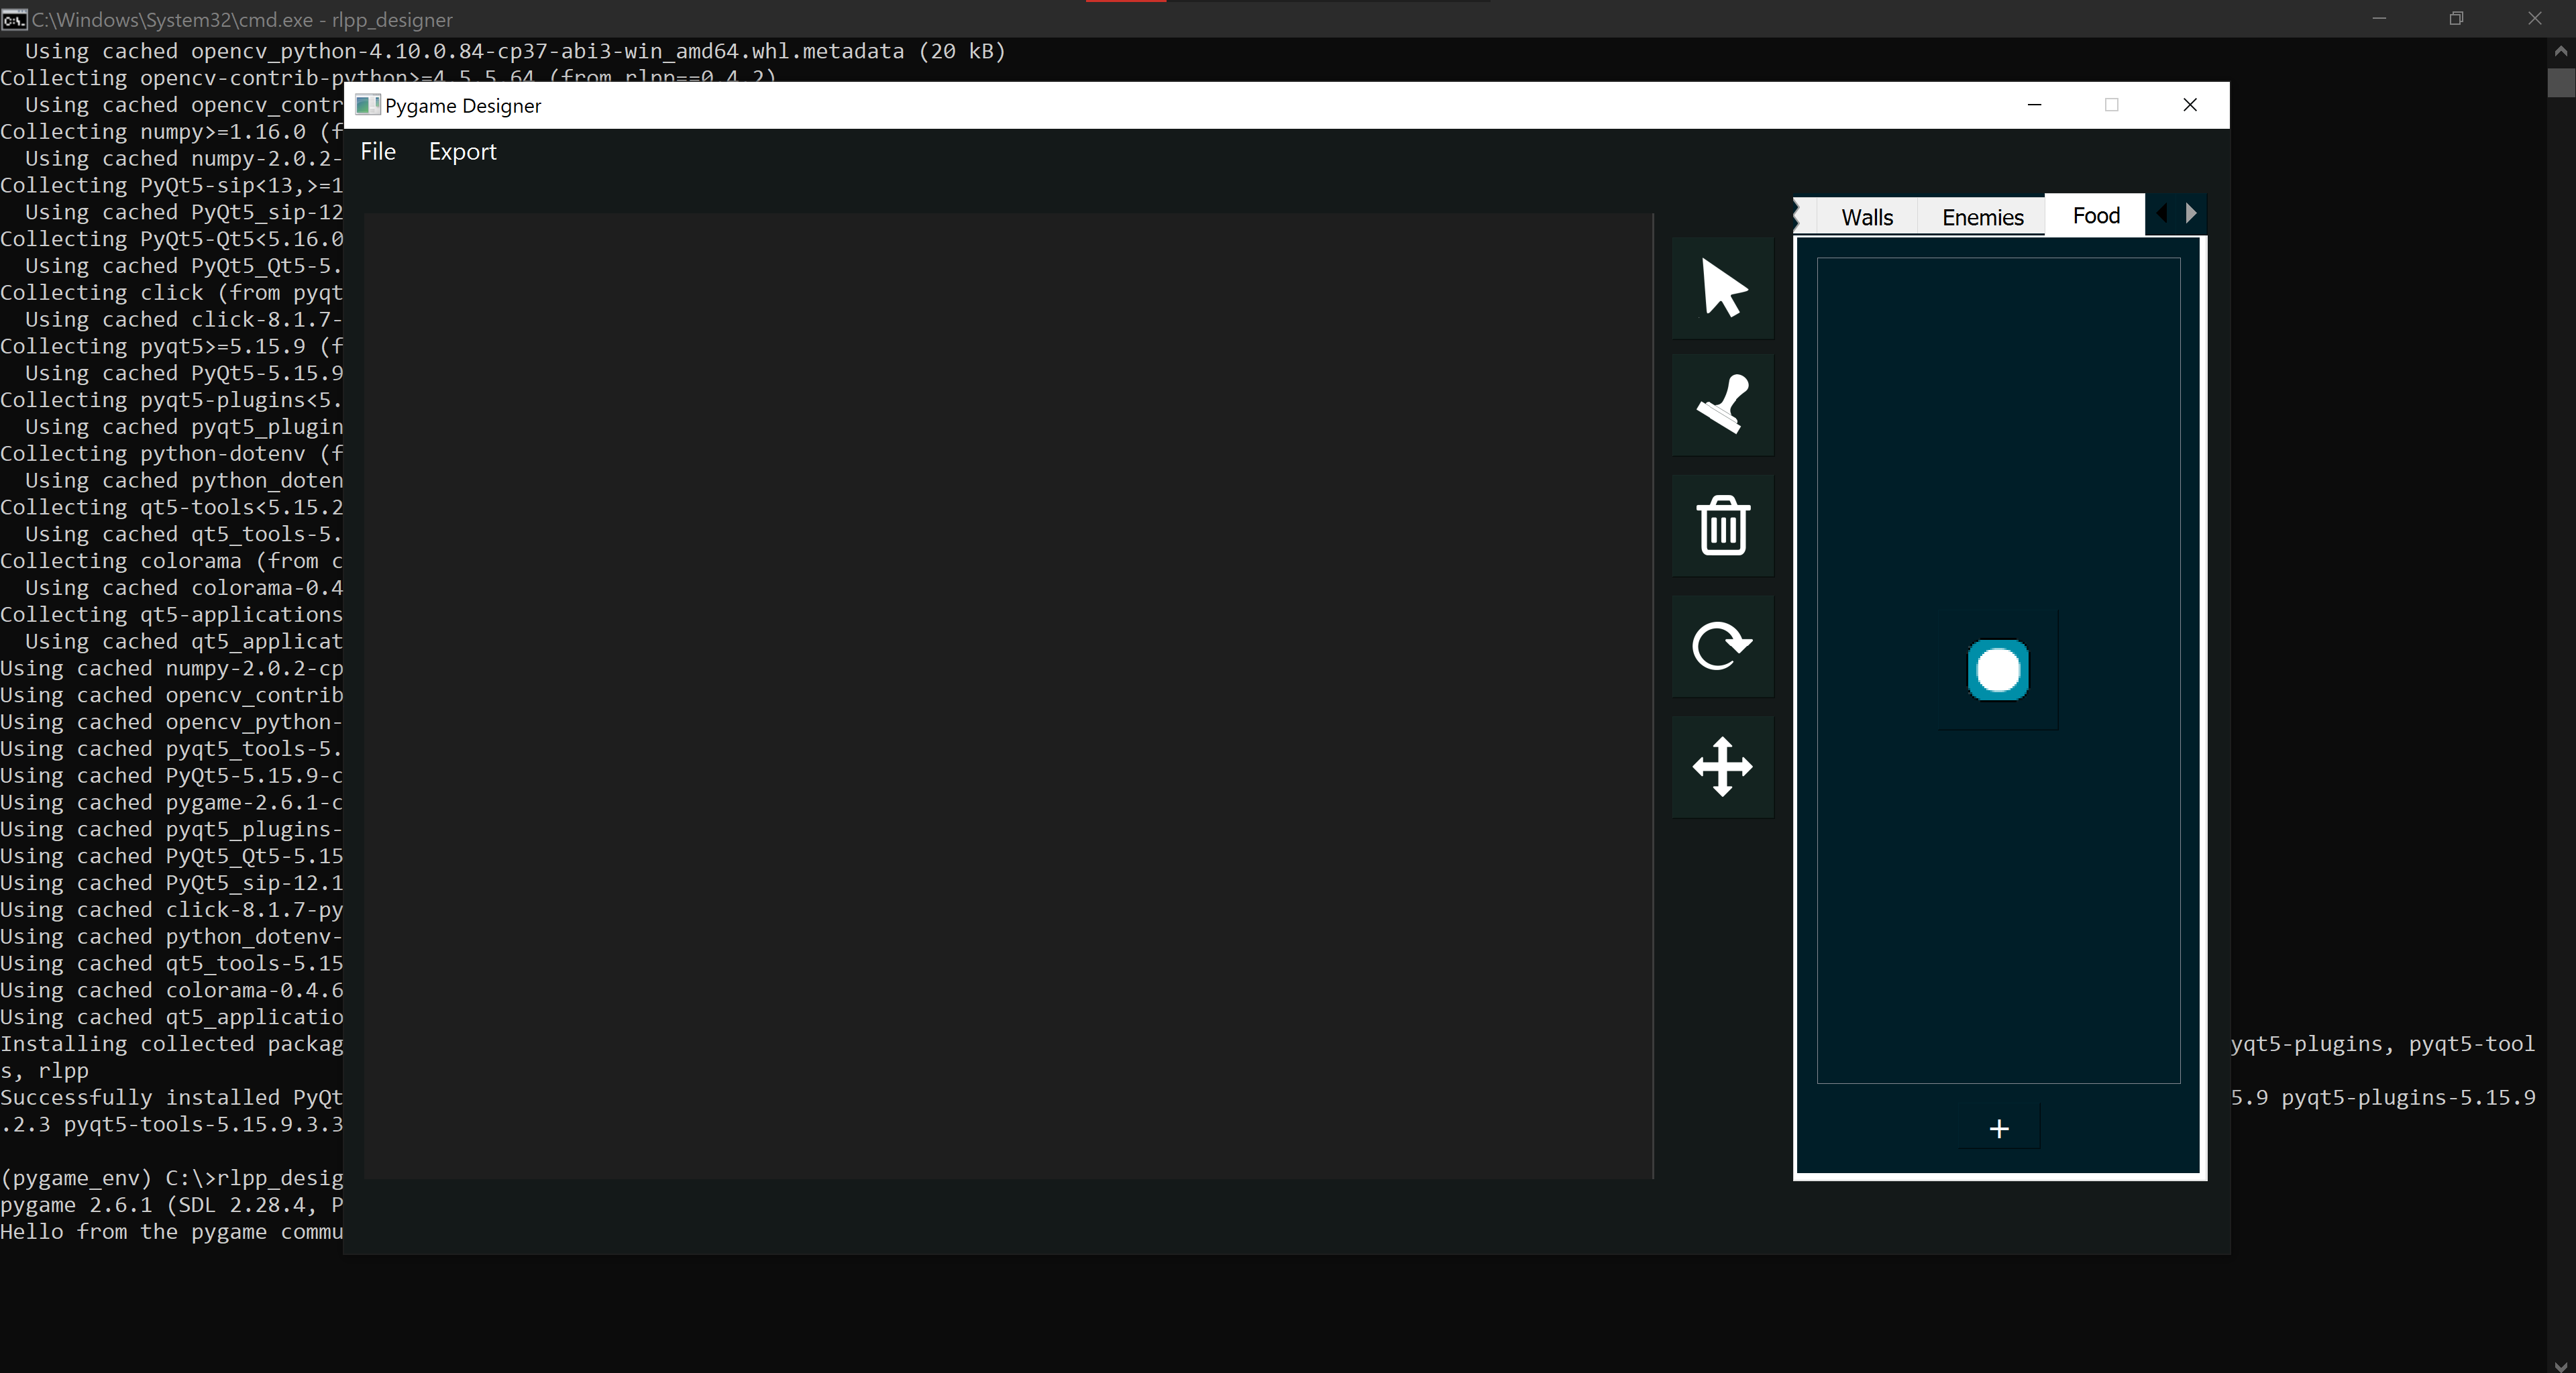
Once rlpp is installed, you can prompt the rlpp_designer by simply typing its name in the terminal, as long as you are in the environment that contains the installation for rlpp:
rlpp_designer
We will need a code editor
We can modify our Python code using an IDE (Integrated Development Editor). Being integrated means there will be a button in our window connecting our Python code with the Interpreter (the actual component that runs the code).
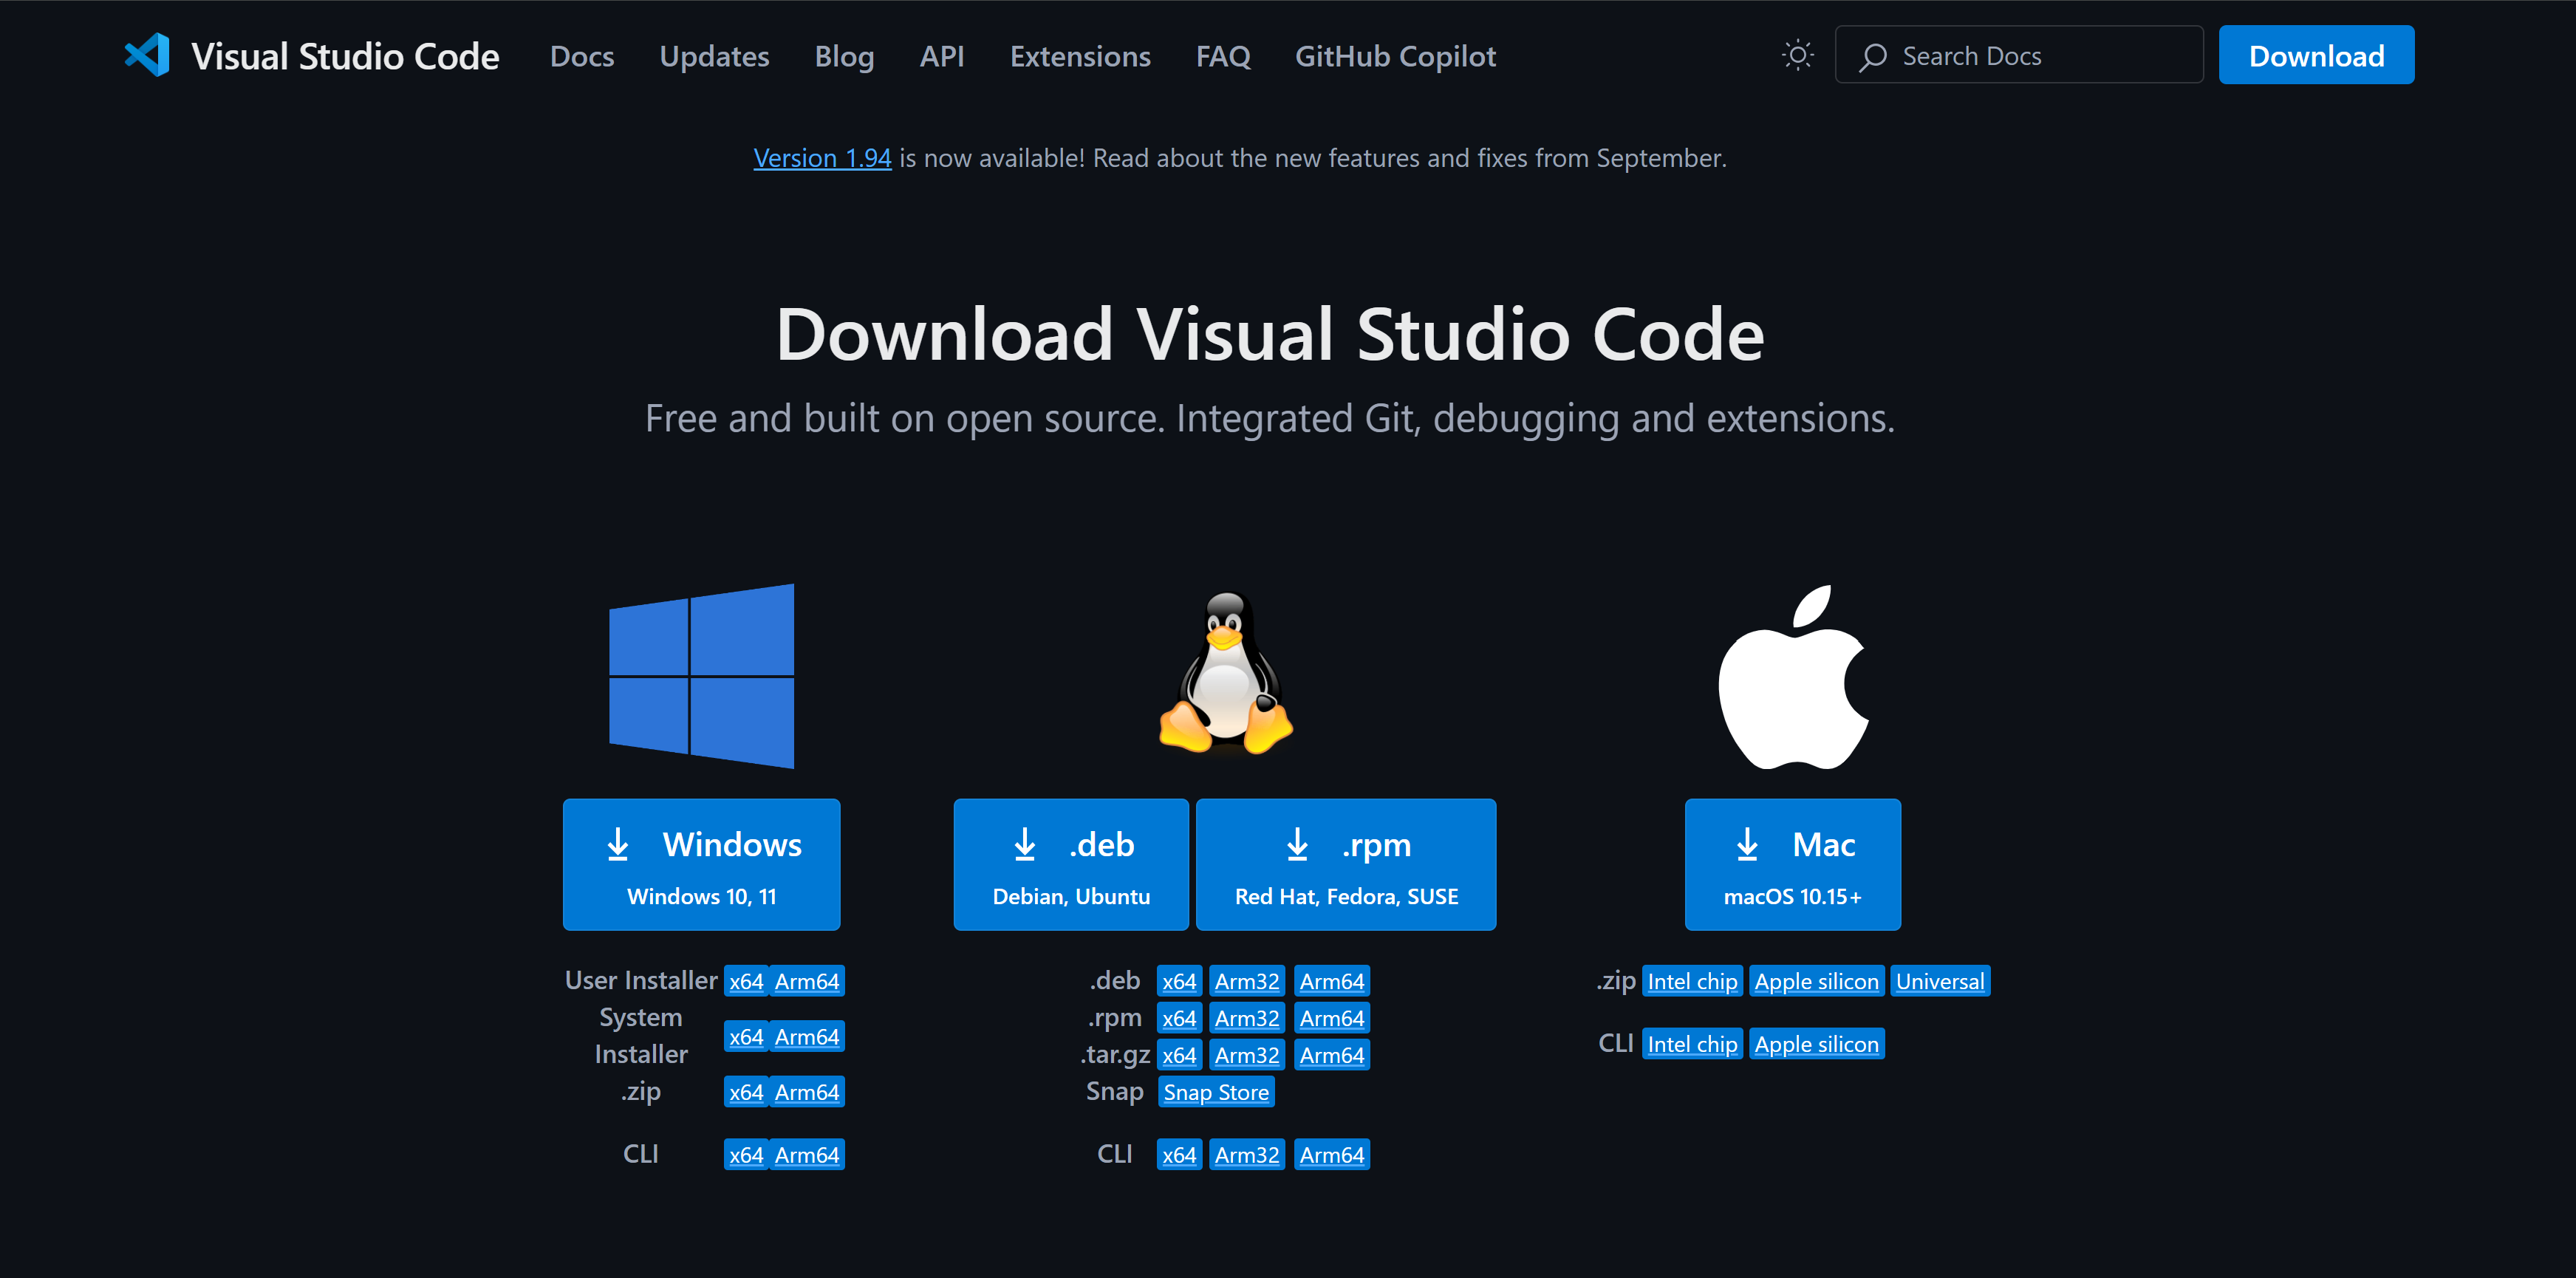
While many editors exist, we suggest using vscode because of it lightweight and popularity in the community of programmers. VsCode also integrates Anaconda environments quite easily and supports the integration of additional programming languages. You can find the installer for vscode that best matches your OS here.
Once vscode is installed in your device, we need to somehow connect it with the Python interpreter. Actually, it would be great to connect the editor with all of the interpreters found across our Anaconda environments. To achieve this, look at the diagram below:
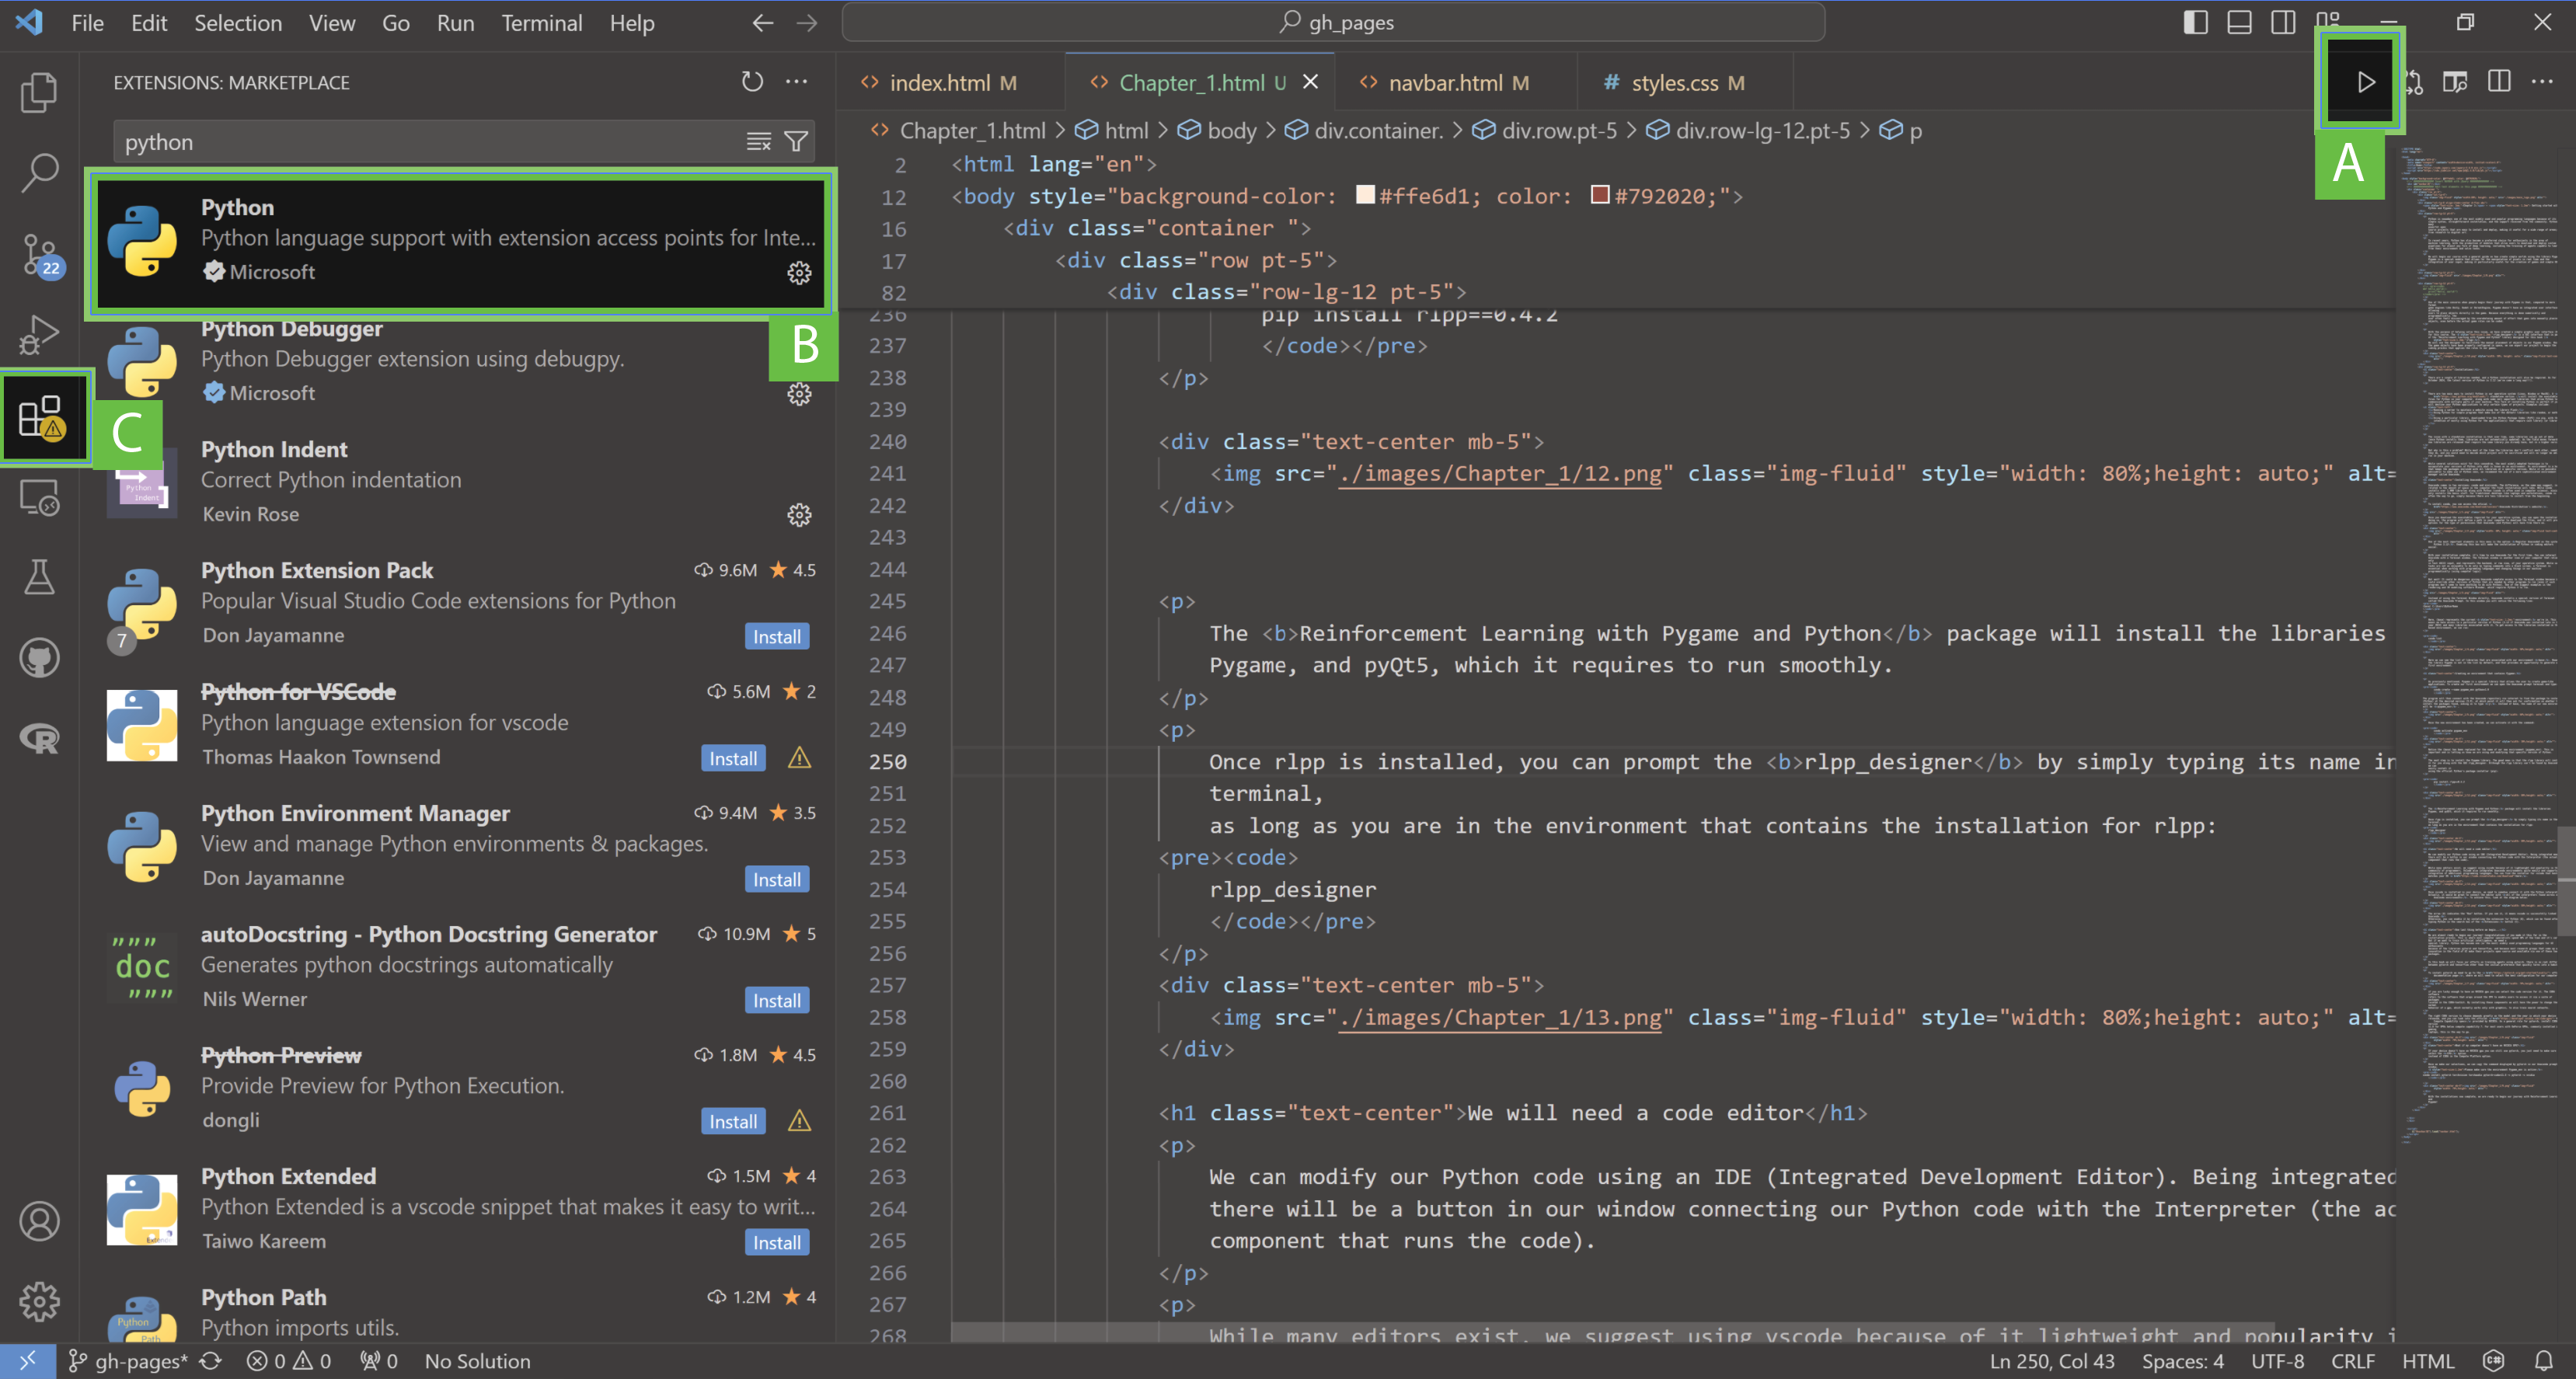
The arrow (A) indicates the "Run" button. If you see it, it means vscode is successfully linked to
Anaconda.
Otherwise, you can enable it by installing the extension for Python (B), which can be found after
typing Python in the search box of the Extensions button (C).
One last thing before we begin...
We are almost ready to begin our journey! Congratulations if you made it this far in the installation process. Installations and compatibility across programs and platforms is an area where computer specialists spend a lot of time and it's certainly not always fun. However, if we want to train artificial intelligence, we need a special library. Python has become one (or the most) widely used programming language for AI enthusiasts because of the libraries pytorch and tensorflow, and because most research groups that come up with innovation in the field of AI make their projects open source and available via one of these two packages.
In this book we will focus our efforts on training agents using pytorch. there is no real difference between pytorch and tensorflow other than the initial preference that quickly turns into a habit.
To install pytorch we need to go to the official documentation page, where we will need to select the best configuration for our computer.
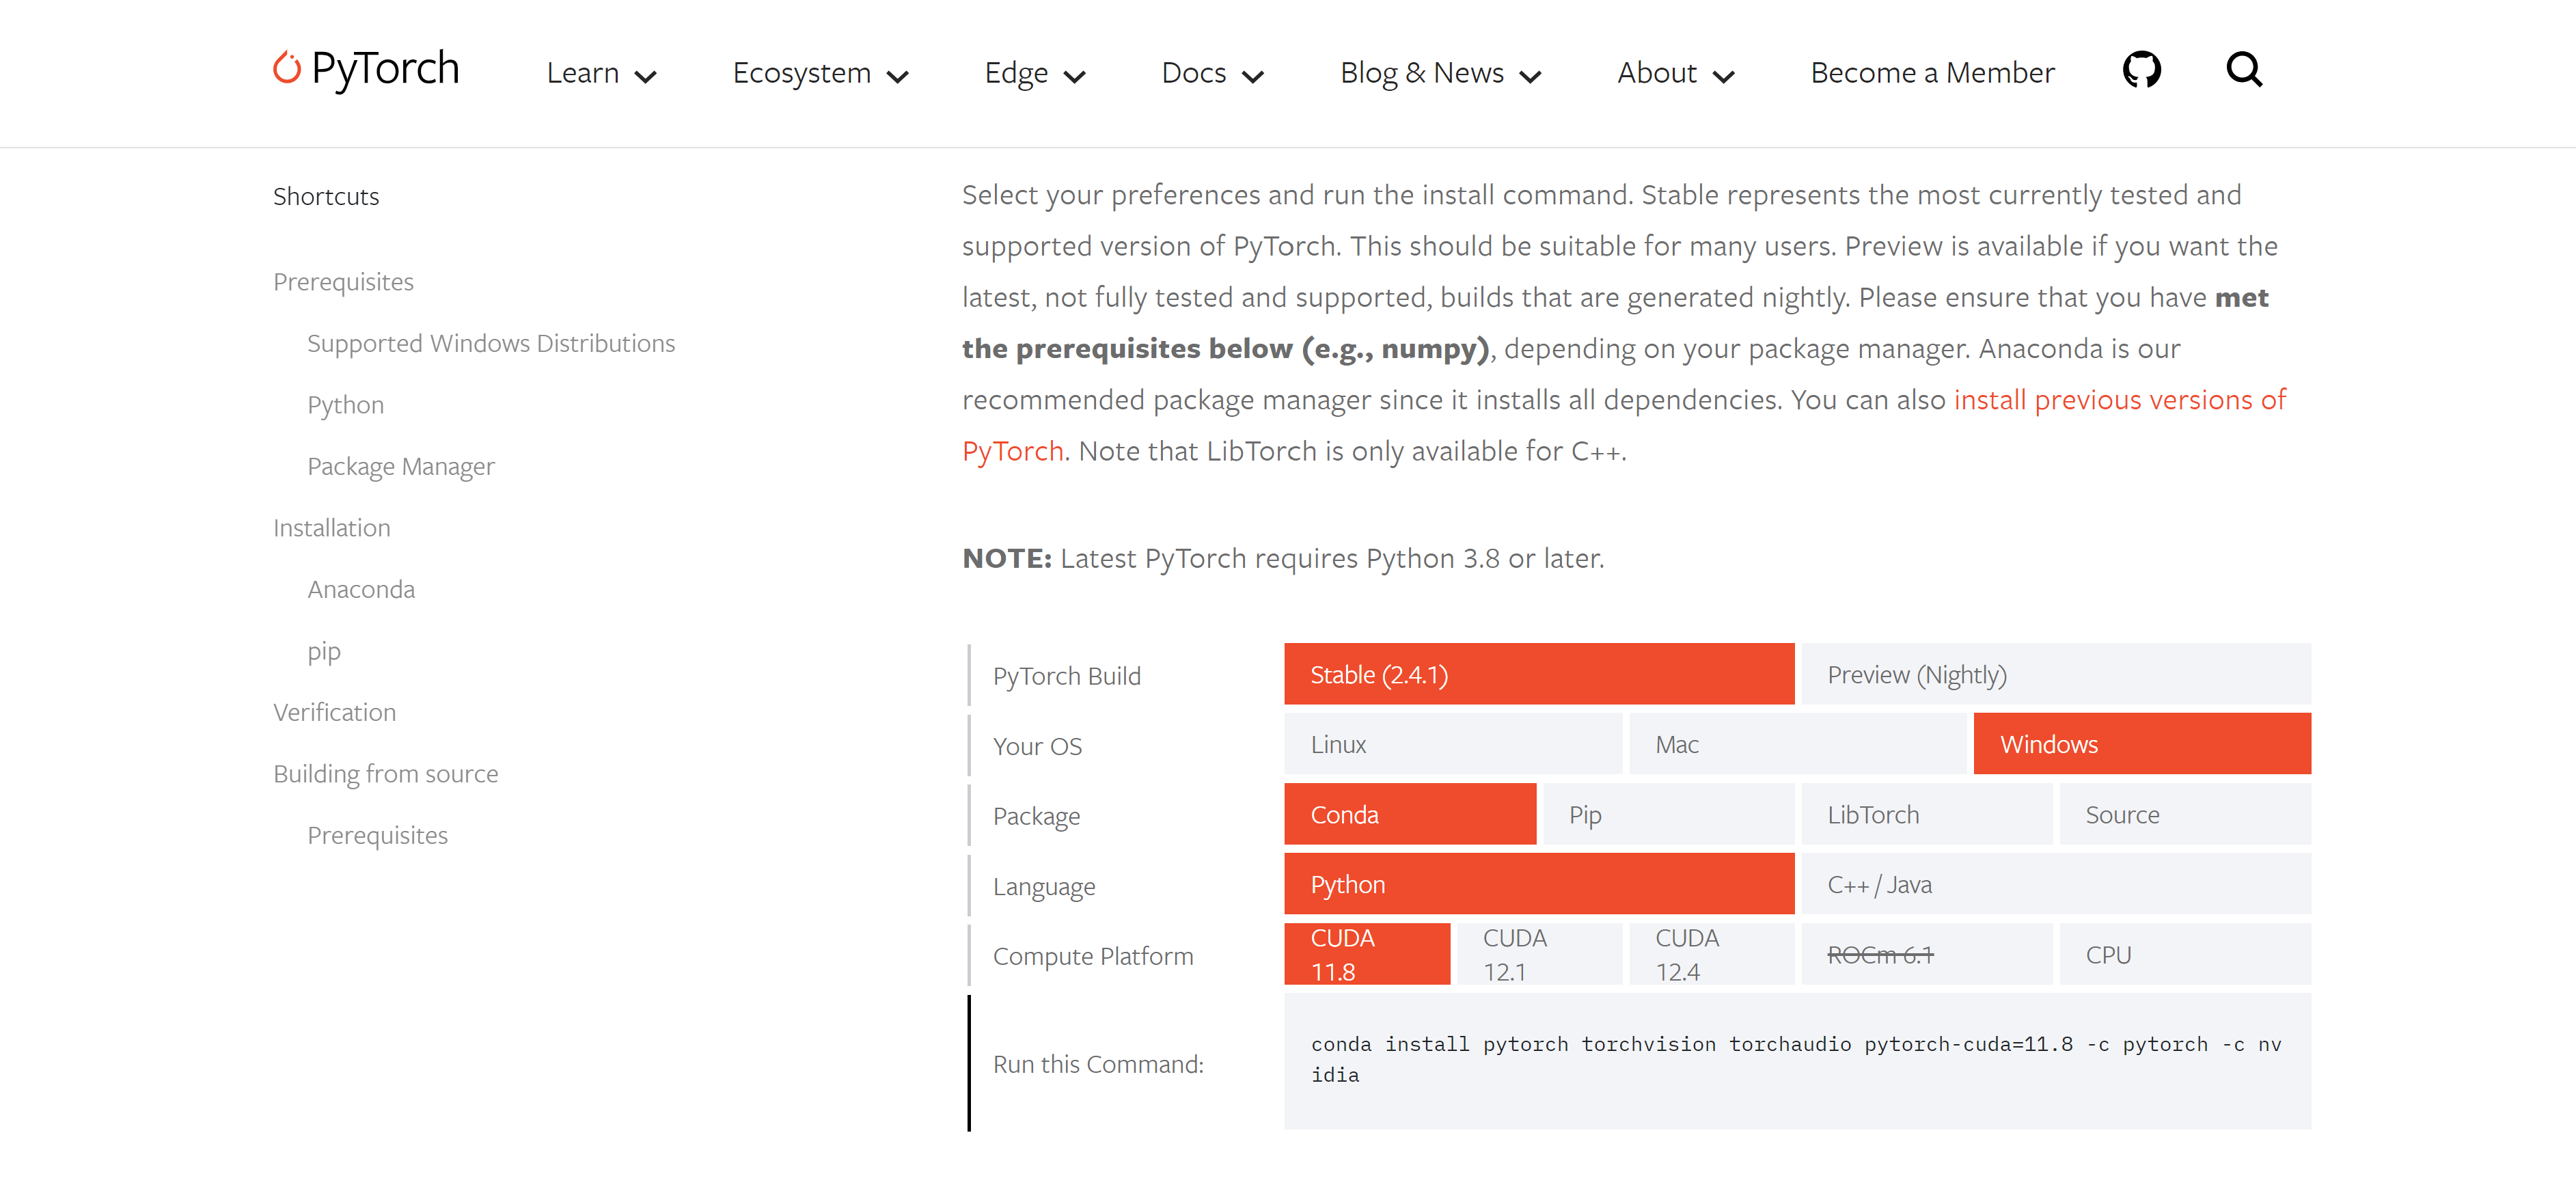
if you are lucky enough to have an NVIDIA gpu you can select the cuda version for it. The CUDA software refers to the software that wraps around the GPU to enable users to access it via a suite of packages located in the CUDA-toolkit. By installing these components we will have the power to change the normal behavior of a gpu, which normally works only with graphics, to also train neural networks.
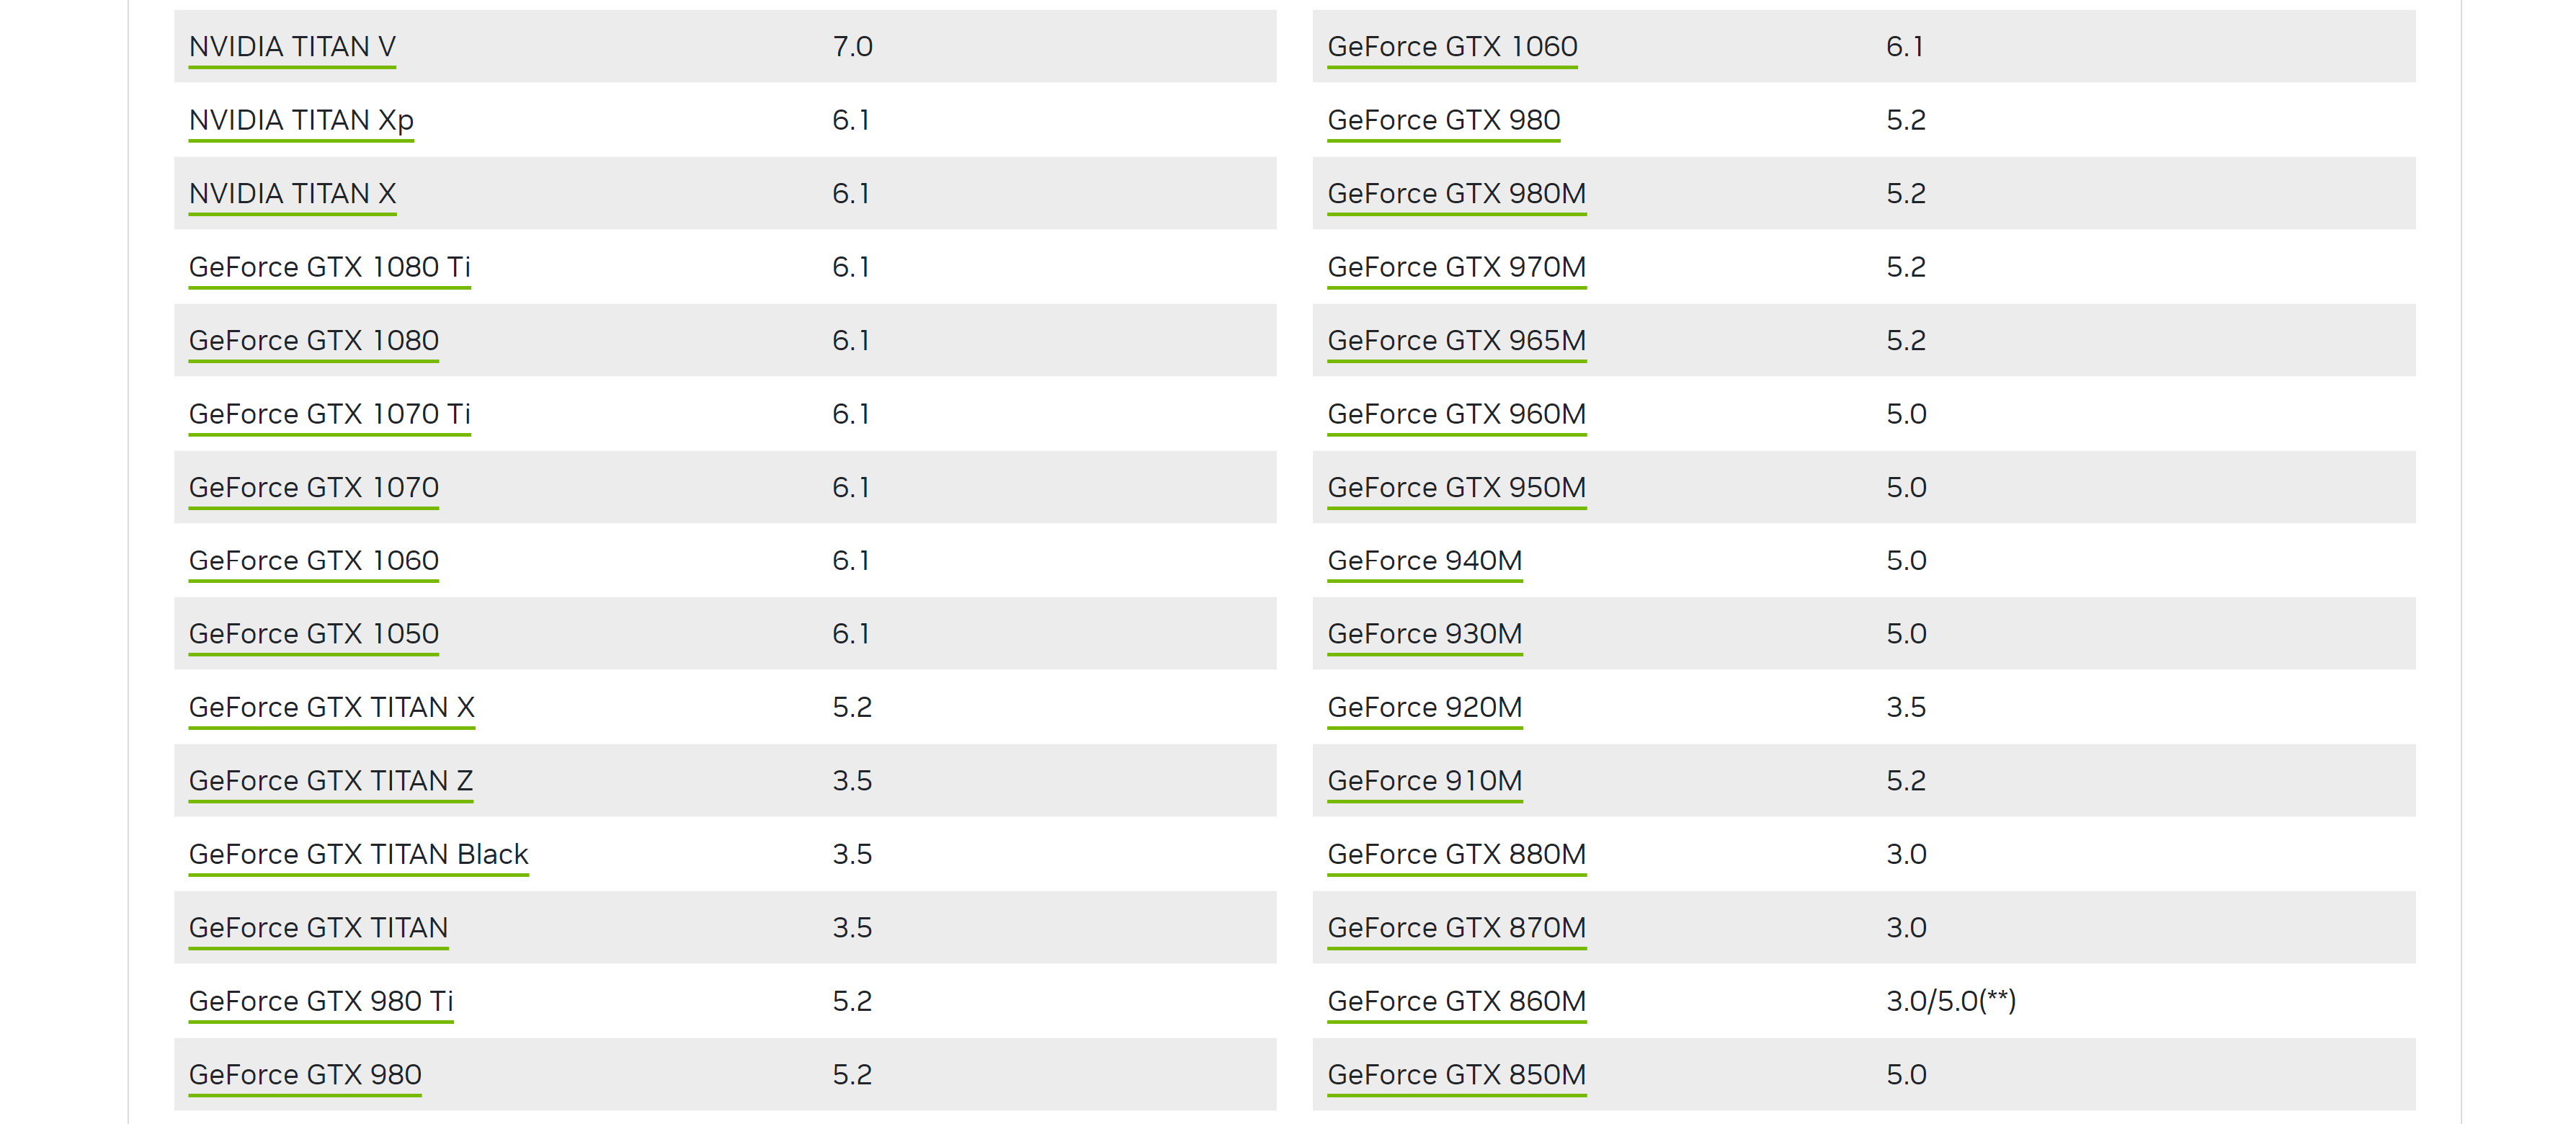
The right CUDA version to choose depends greatly on the model and the year in which your device was released, and you can look into the official GPU Compute Capability specs provided by NVIDIA. As a general rule for pytorch, install CUDA version 11.8 for GPUs below compute capability 7. For most users with GeForce GPUs, commonly installed in gaming laptops, this is the way to go.
What if my computer doesn't have an NVIDIA GPU?
If your device doesn't have an NVIDIA gpu you can still use pytorch, you just need to make sure to select the CPU option instead of CUDA in the Compute Platform option.
Once we make our selections, we can copy the command displayed by pytorch in our Anaconda prompt window. Please make sure the environment Pygame_env is active:
conda install pytorch torchvision torchaudio pytorch-cuda=11.8 -c pytorch -c nvidia

With the installations now complete, we are ready to begin our journey with Reinforcement Learning and Pygame!