The rlpp_designer is an example of a graphic user interface (GUI). A GUI is a tool that helps users control the behavior of a program by using buttons instead of having to manually enter code to produce the same result. Even for experienced programmers, having a GUI application is a time saver, allowing them to focus their attention in the most important parts of the program. Our rlpp_designer will help us create a layout of our worlds by helping us visualize the position and type of objects that make our game, so we can export our project afterwards, and reimport it as Python code.
Let's begin by opening our GUI. Open the Anaconda prompt, activate the environment, and run the rlpp_designer command:
                    conda activate pygame_env
                    rlpp_designer
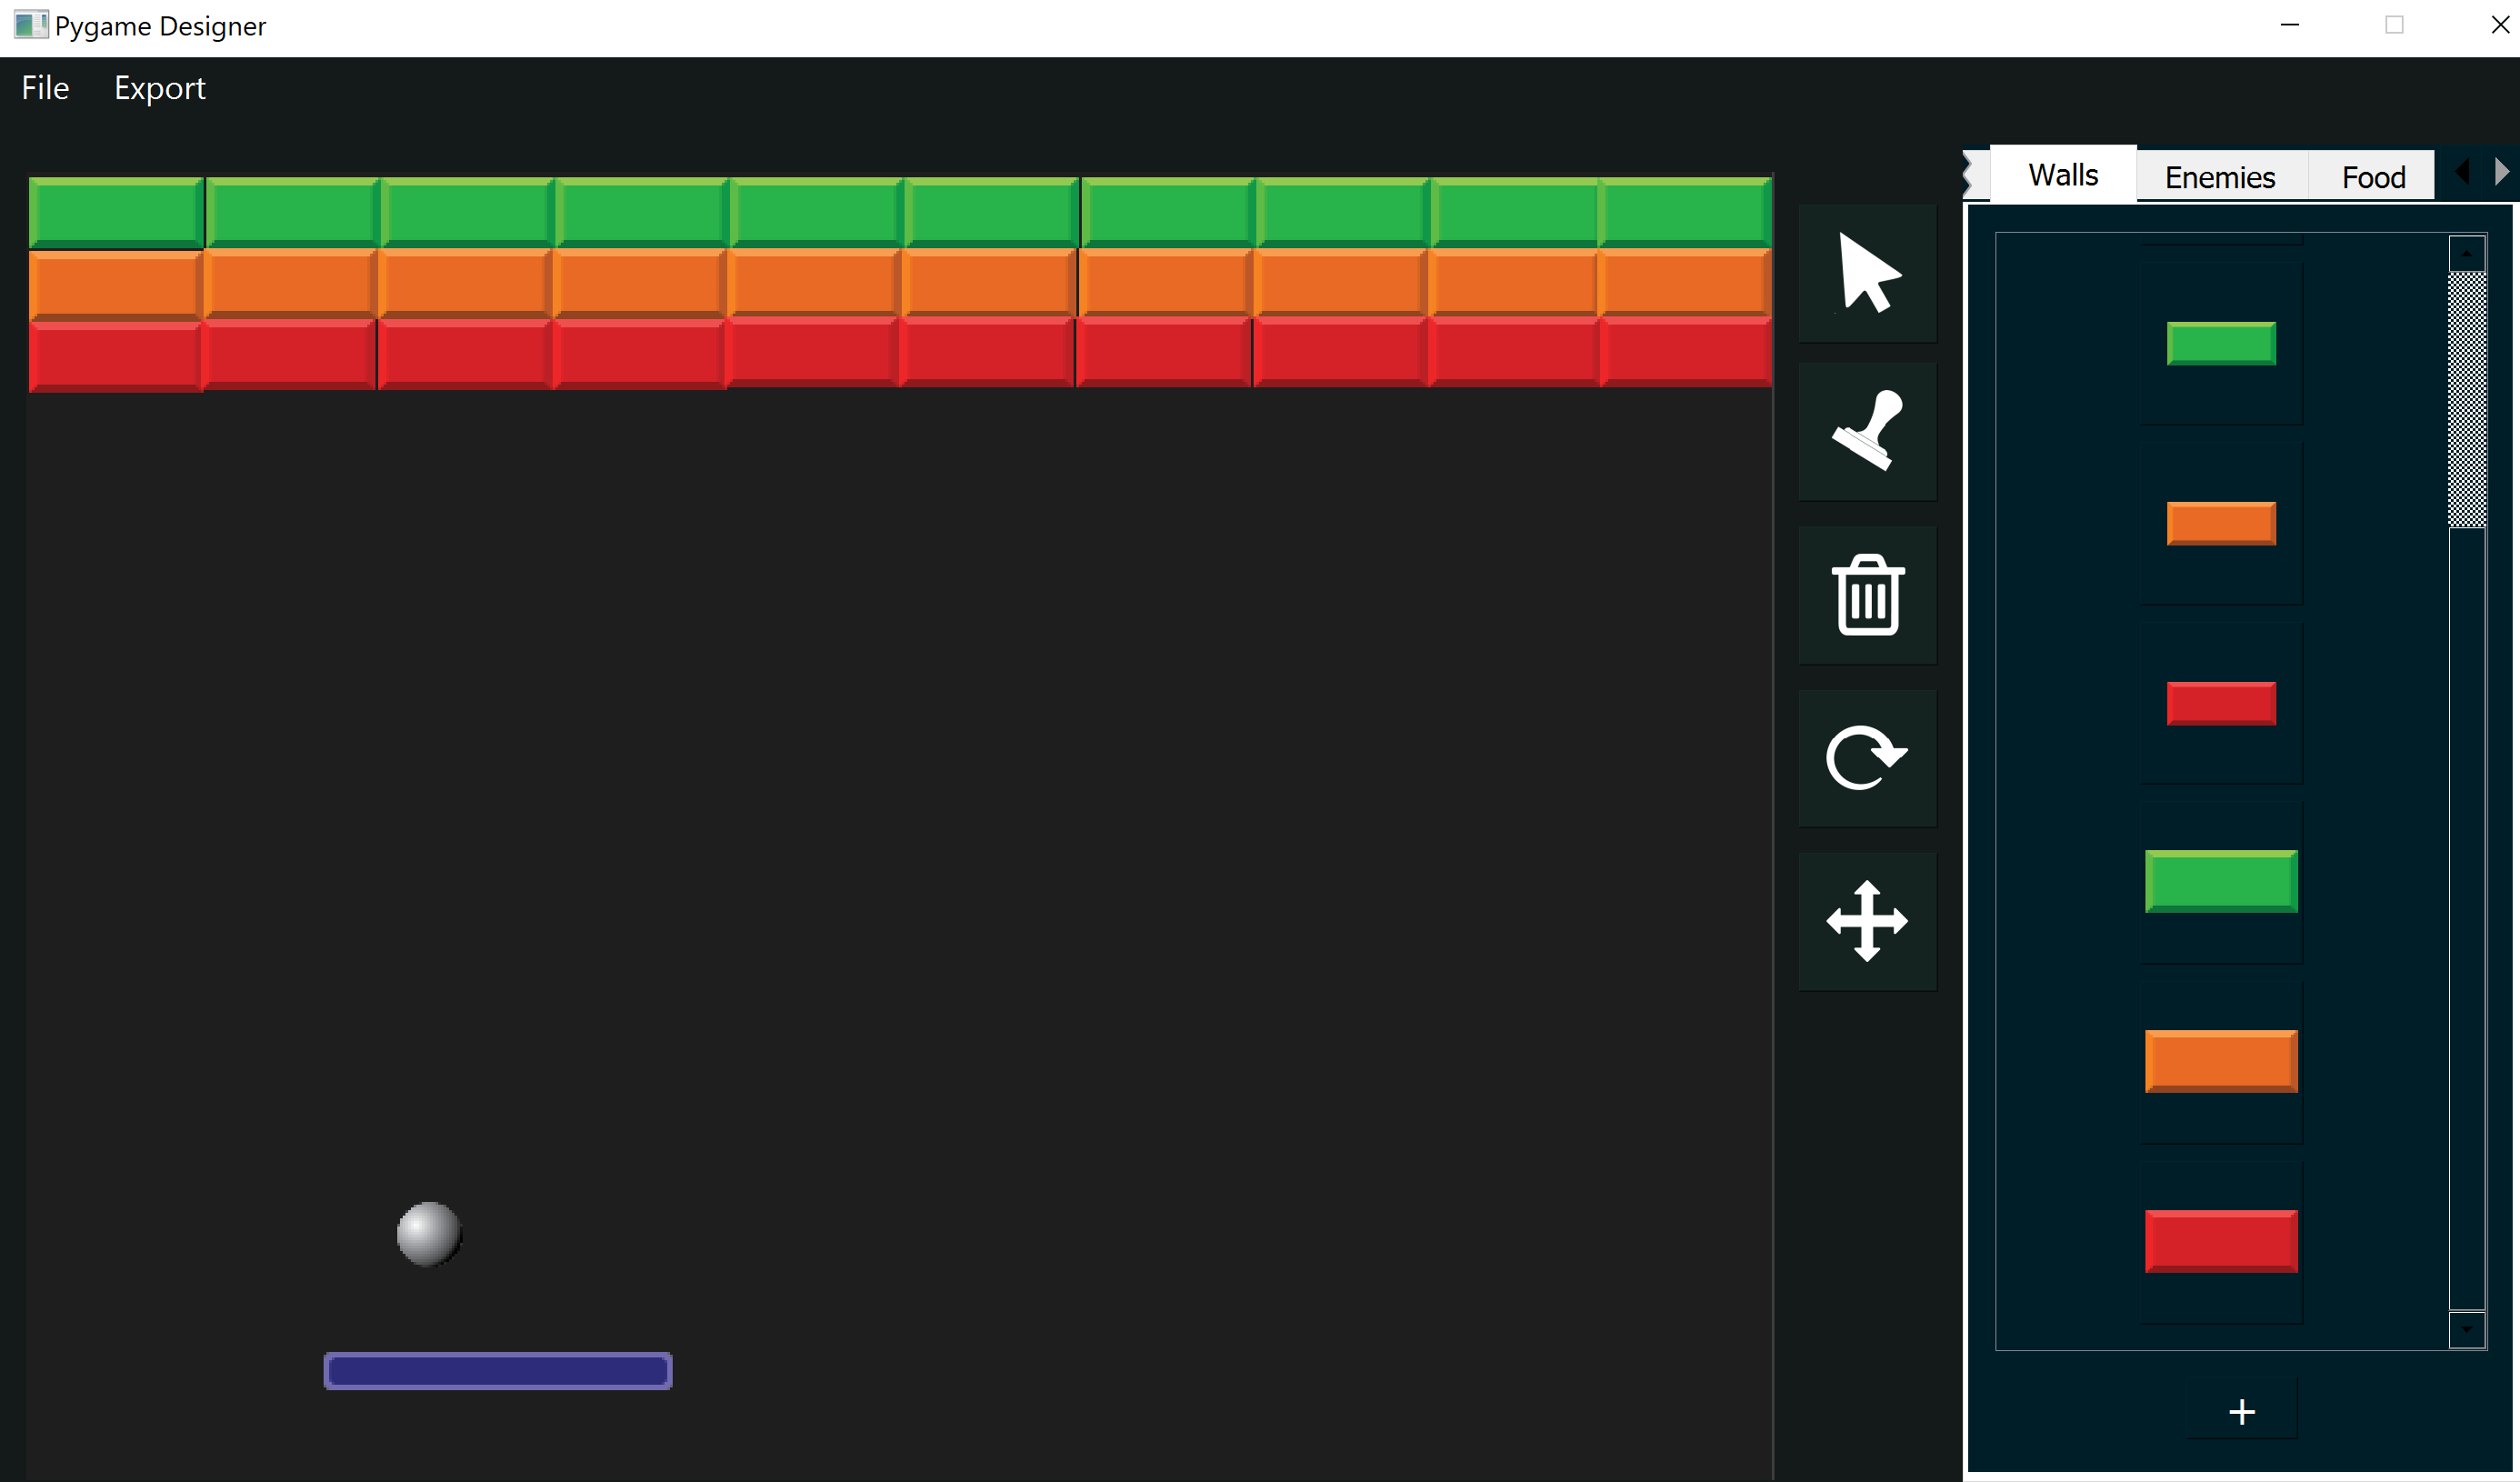
Our GUI is divided in three subpanels:
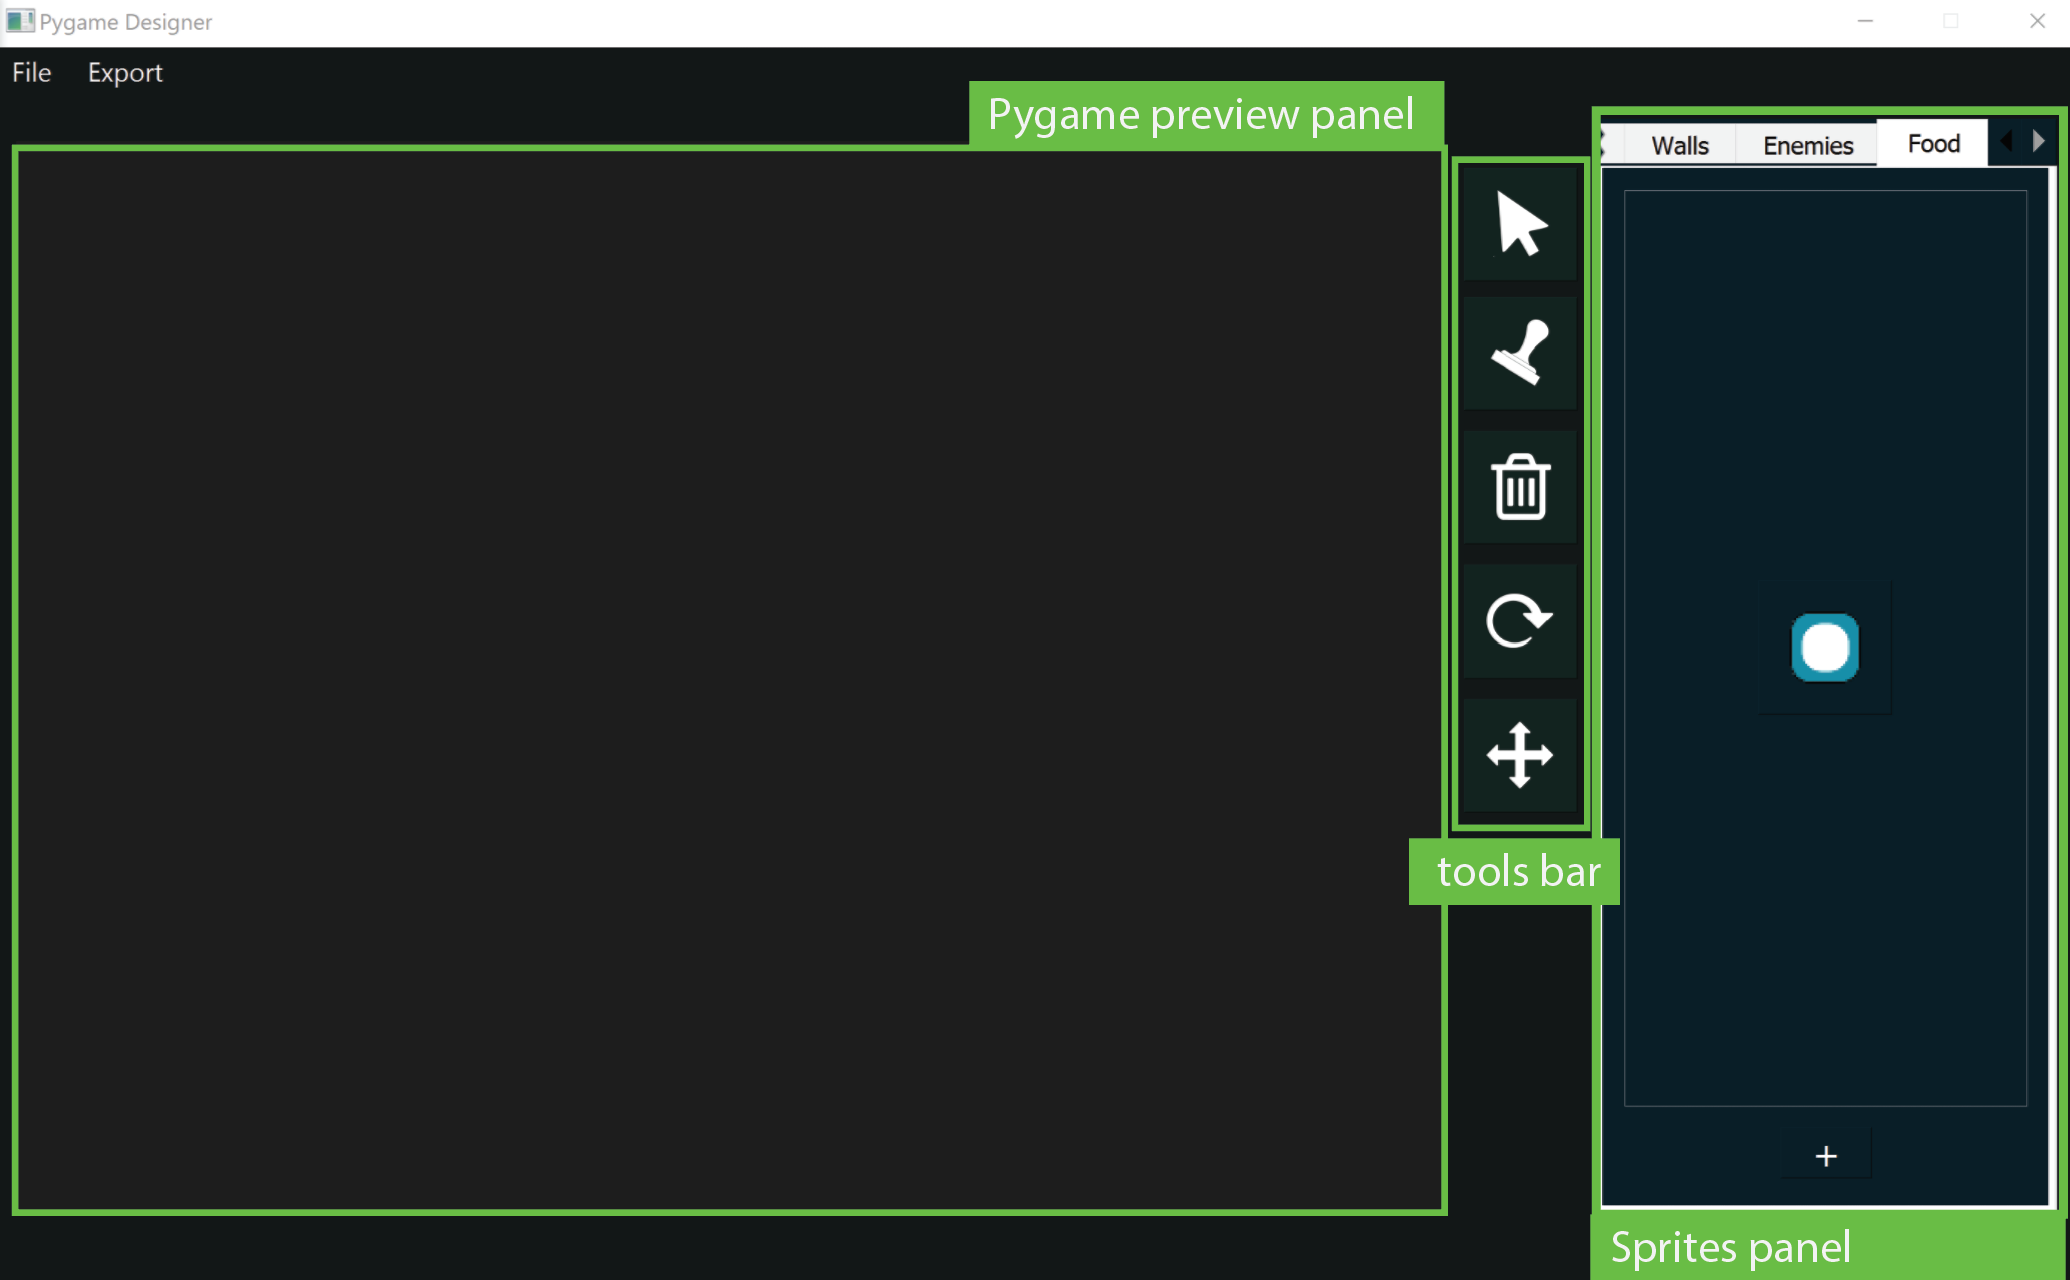
The Pygame panel represents our canvas, and a preview of how our game will begin once we export it.
Tools bar
Let's go through the icons included in the tools bar:


Sprites panel
The sprites panel contains prefabs of the sprites that make your game. At its current version 0.4.2, rlpp_designer includes 4 sprite categories:


Let's familiarize ourselves with the designer by going over an exercise together, using the legendary game Breakout as an example!
Breakout
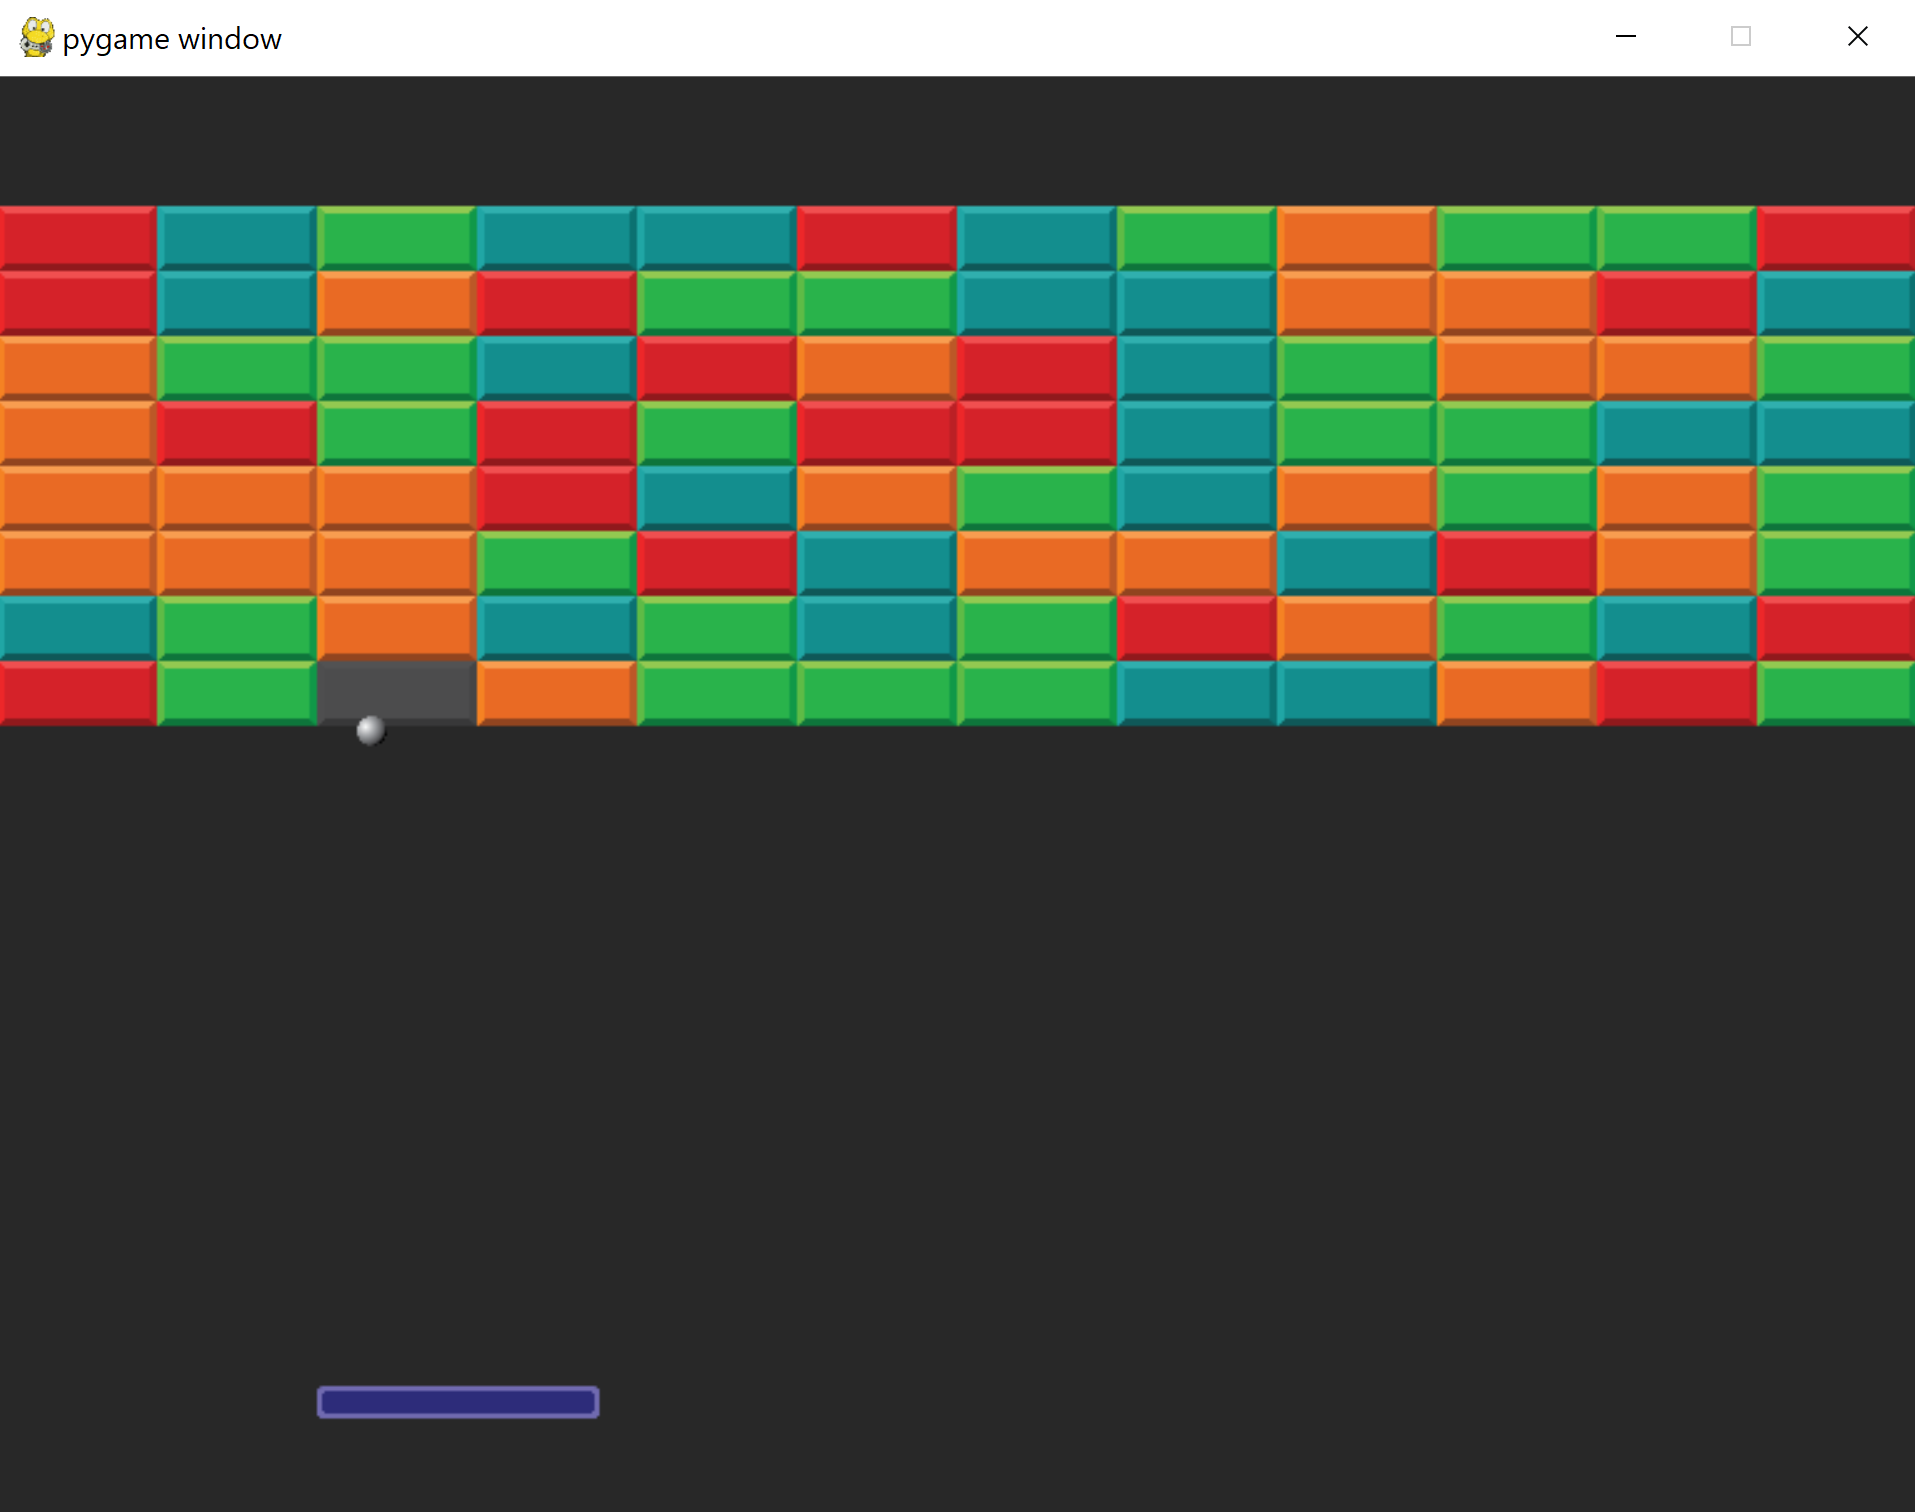
Few games are as iconic as Breakout. Originally released for the Atari game console in 1976, the game involves four types of elements:
- paddle (agent)
- ball ("food")
- blocks (wall)
- edges (wall)
To create your game setup:
- With the designer open, navigate to the agents subpanel located in the sprites panel. You will find a blue agent that will always be loaded by default when you start the application.
- Click the "+" button at the bottom of the agents subpanel to import a new sprite
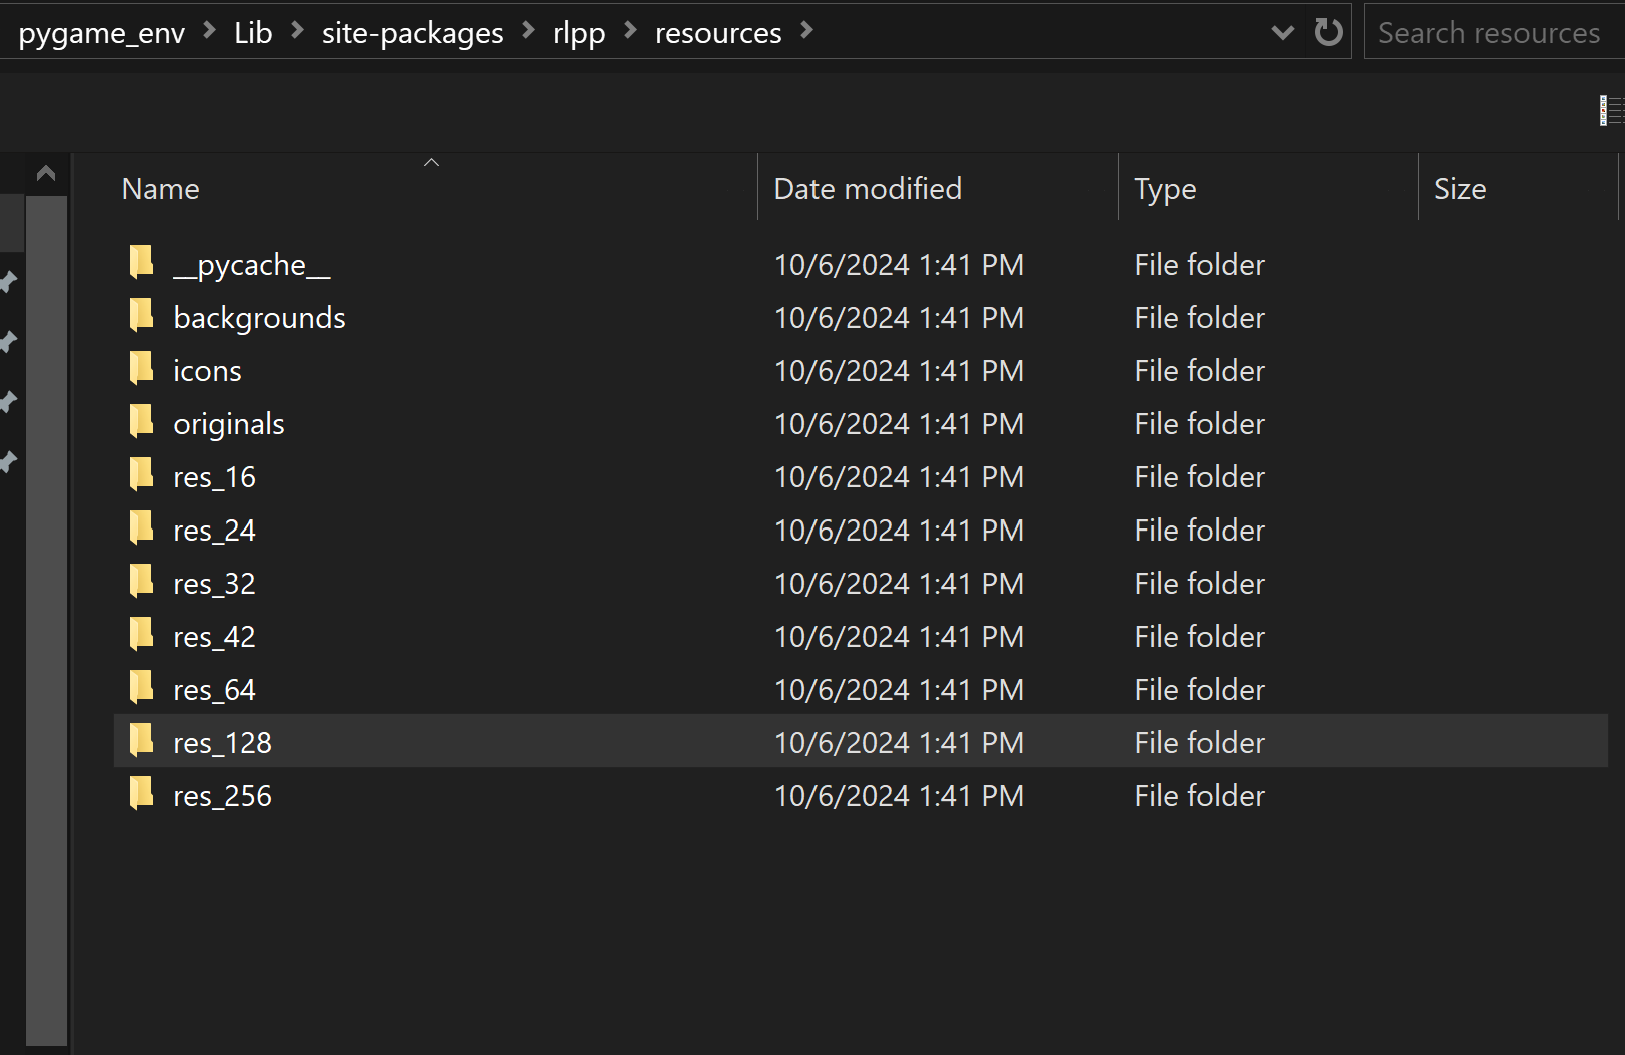
- Enter the subfolder agents and select the paddle. If the paddle is too small, move up some
directories to find the same images at different resolutions at:
I've found res_128 to be a good resolution...\rlpp\resources\ - Once the sprite has been loaded, it will be displayed as a button below the default agent icon.
You can now click on it and drag it within the Pygame preview
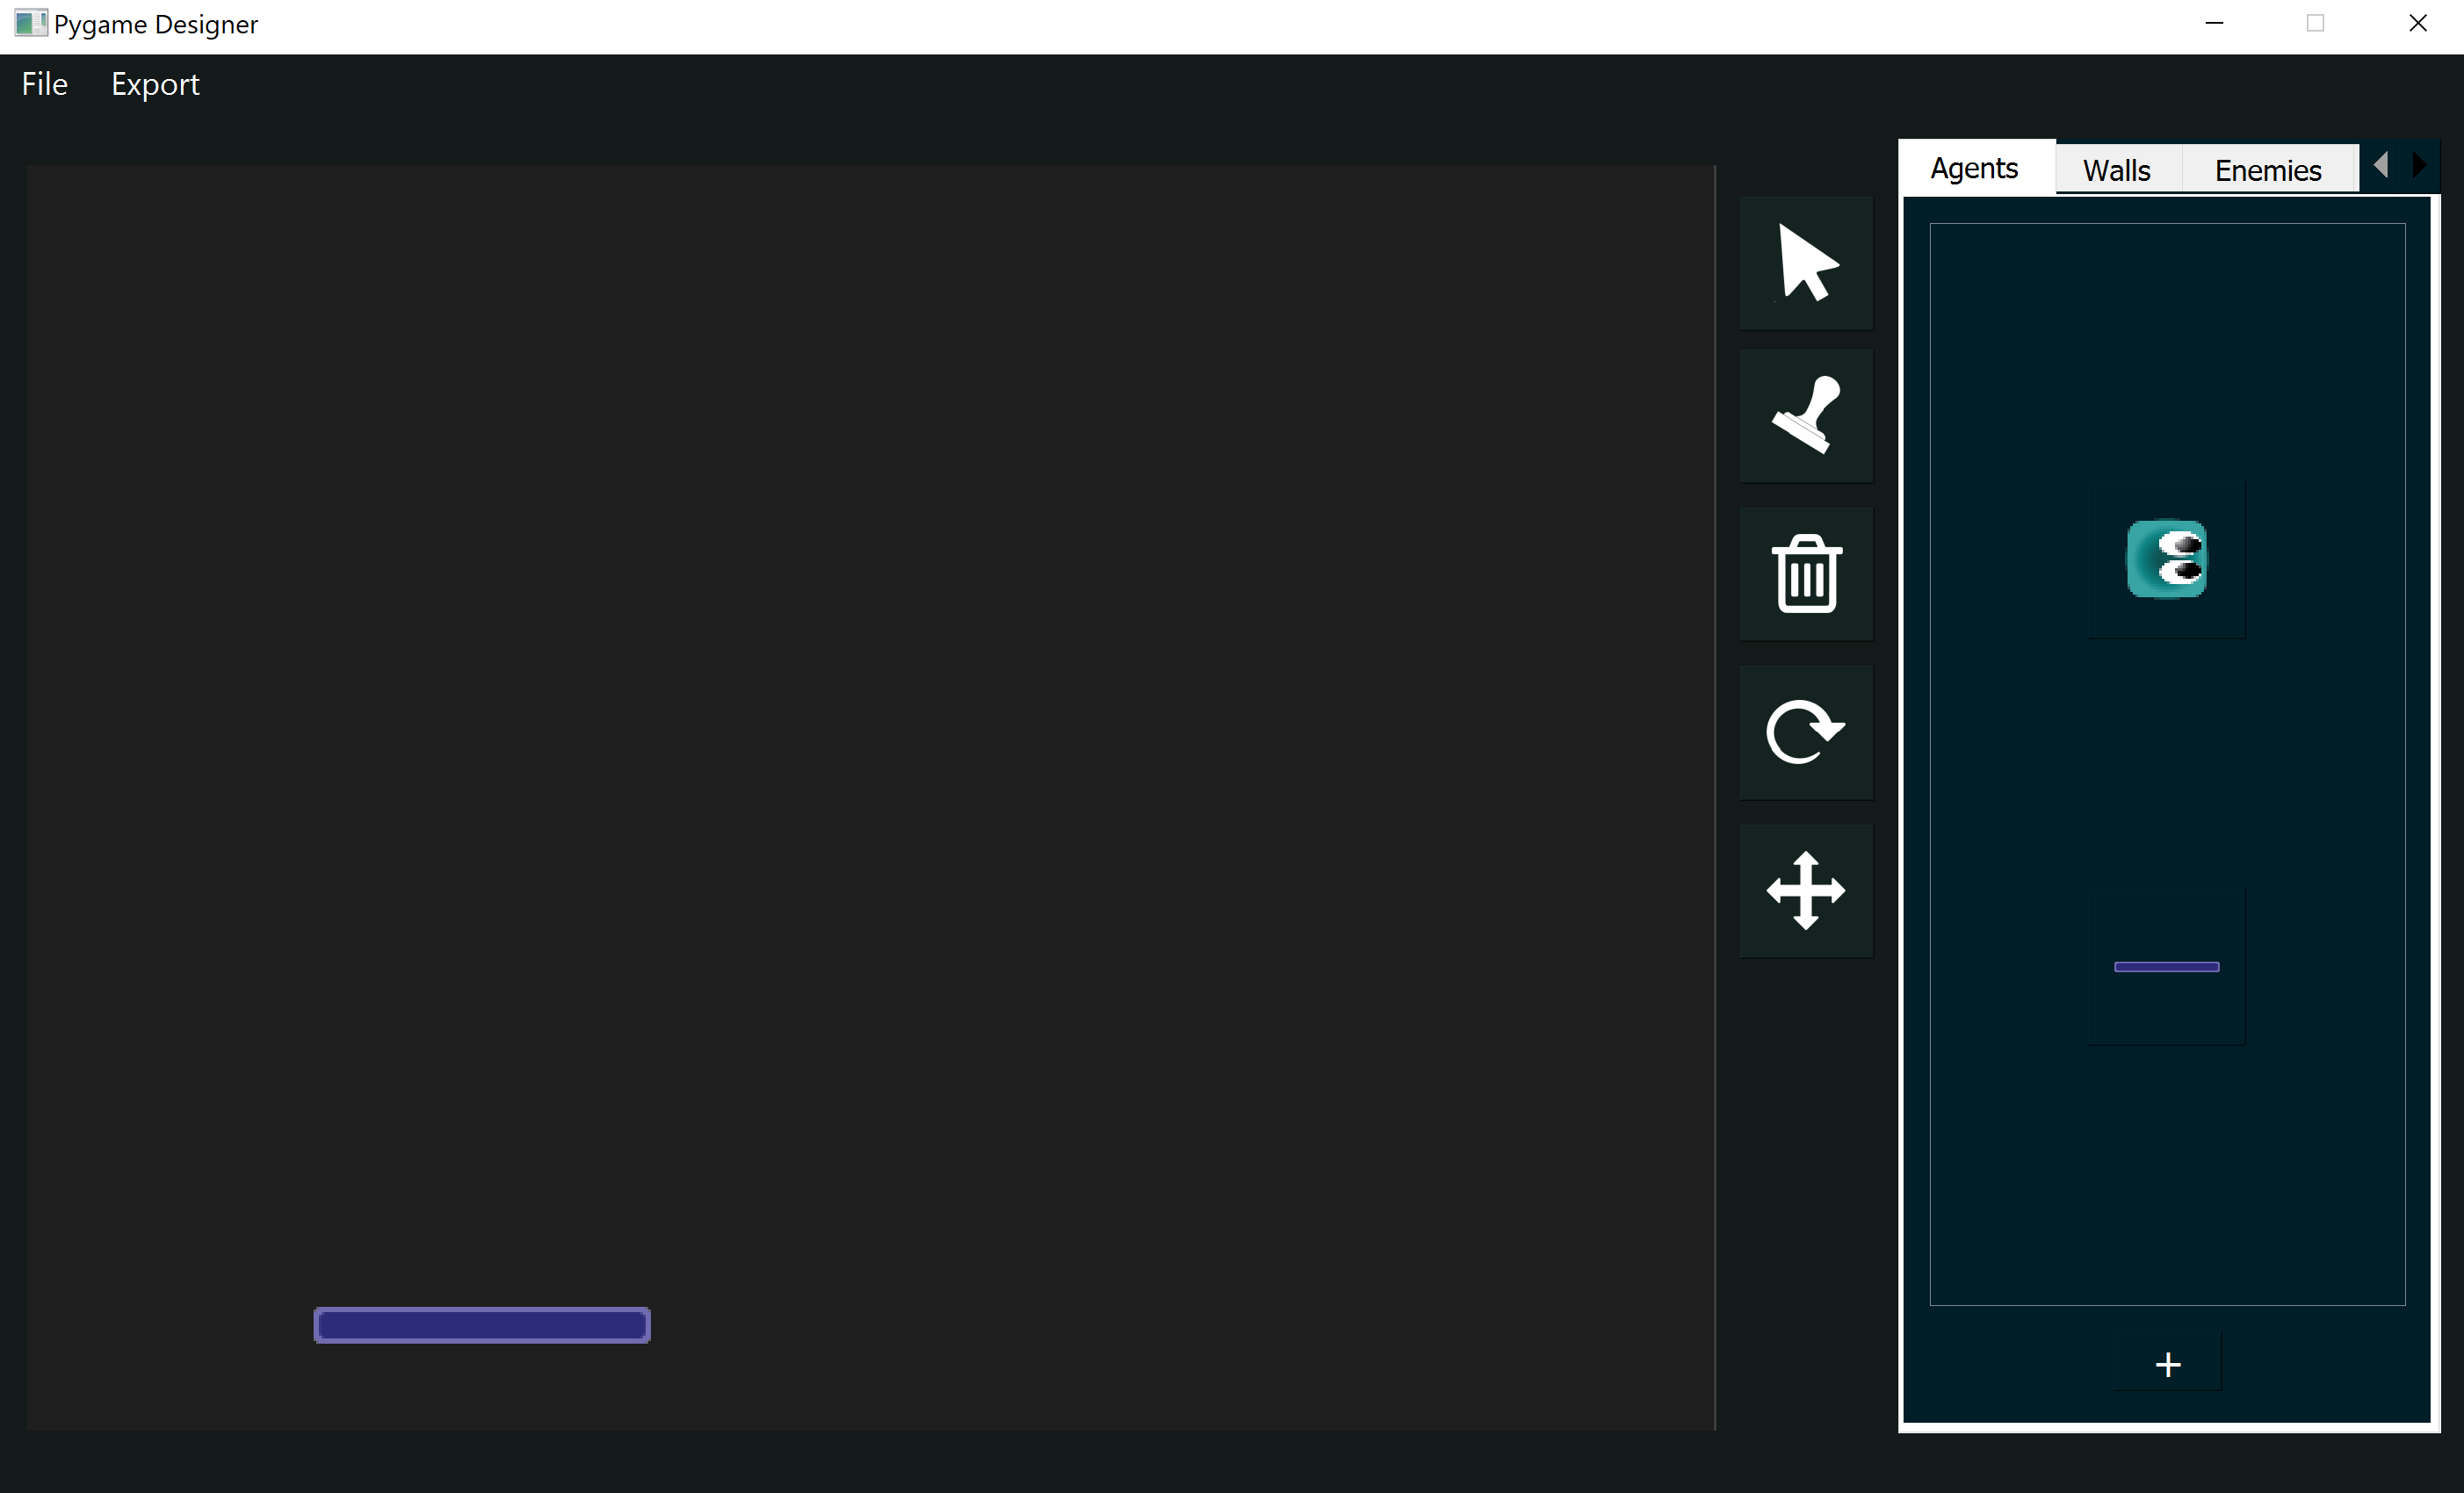
- Move to the food subpanel and import the ball. If the ball is too big you can use the mouse scroller to increase or decrease its size
- Move to the walls subpanel and place the blocks at the position of your choice. You may want to consider changing the resolution of the blocks by using the scroller, or finding the same blocks at a different resolution in the folder ...\rlpp\resources
Here is a suggested layout for the blocks, ball and paddle for our game.
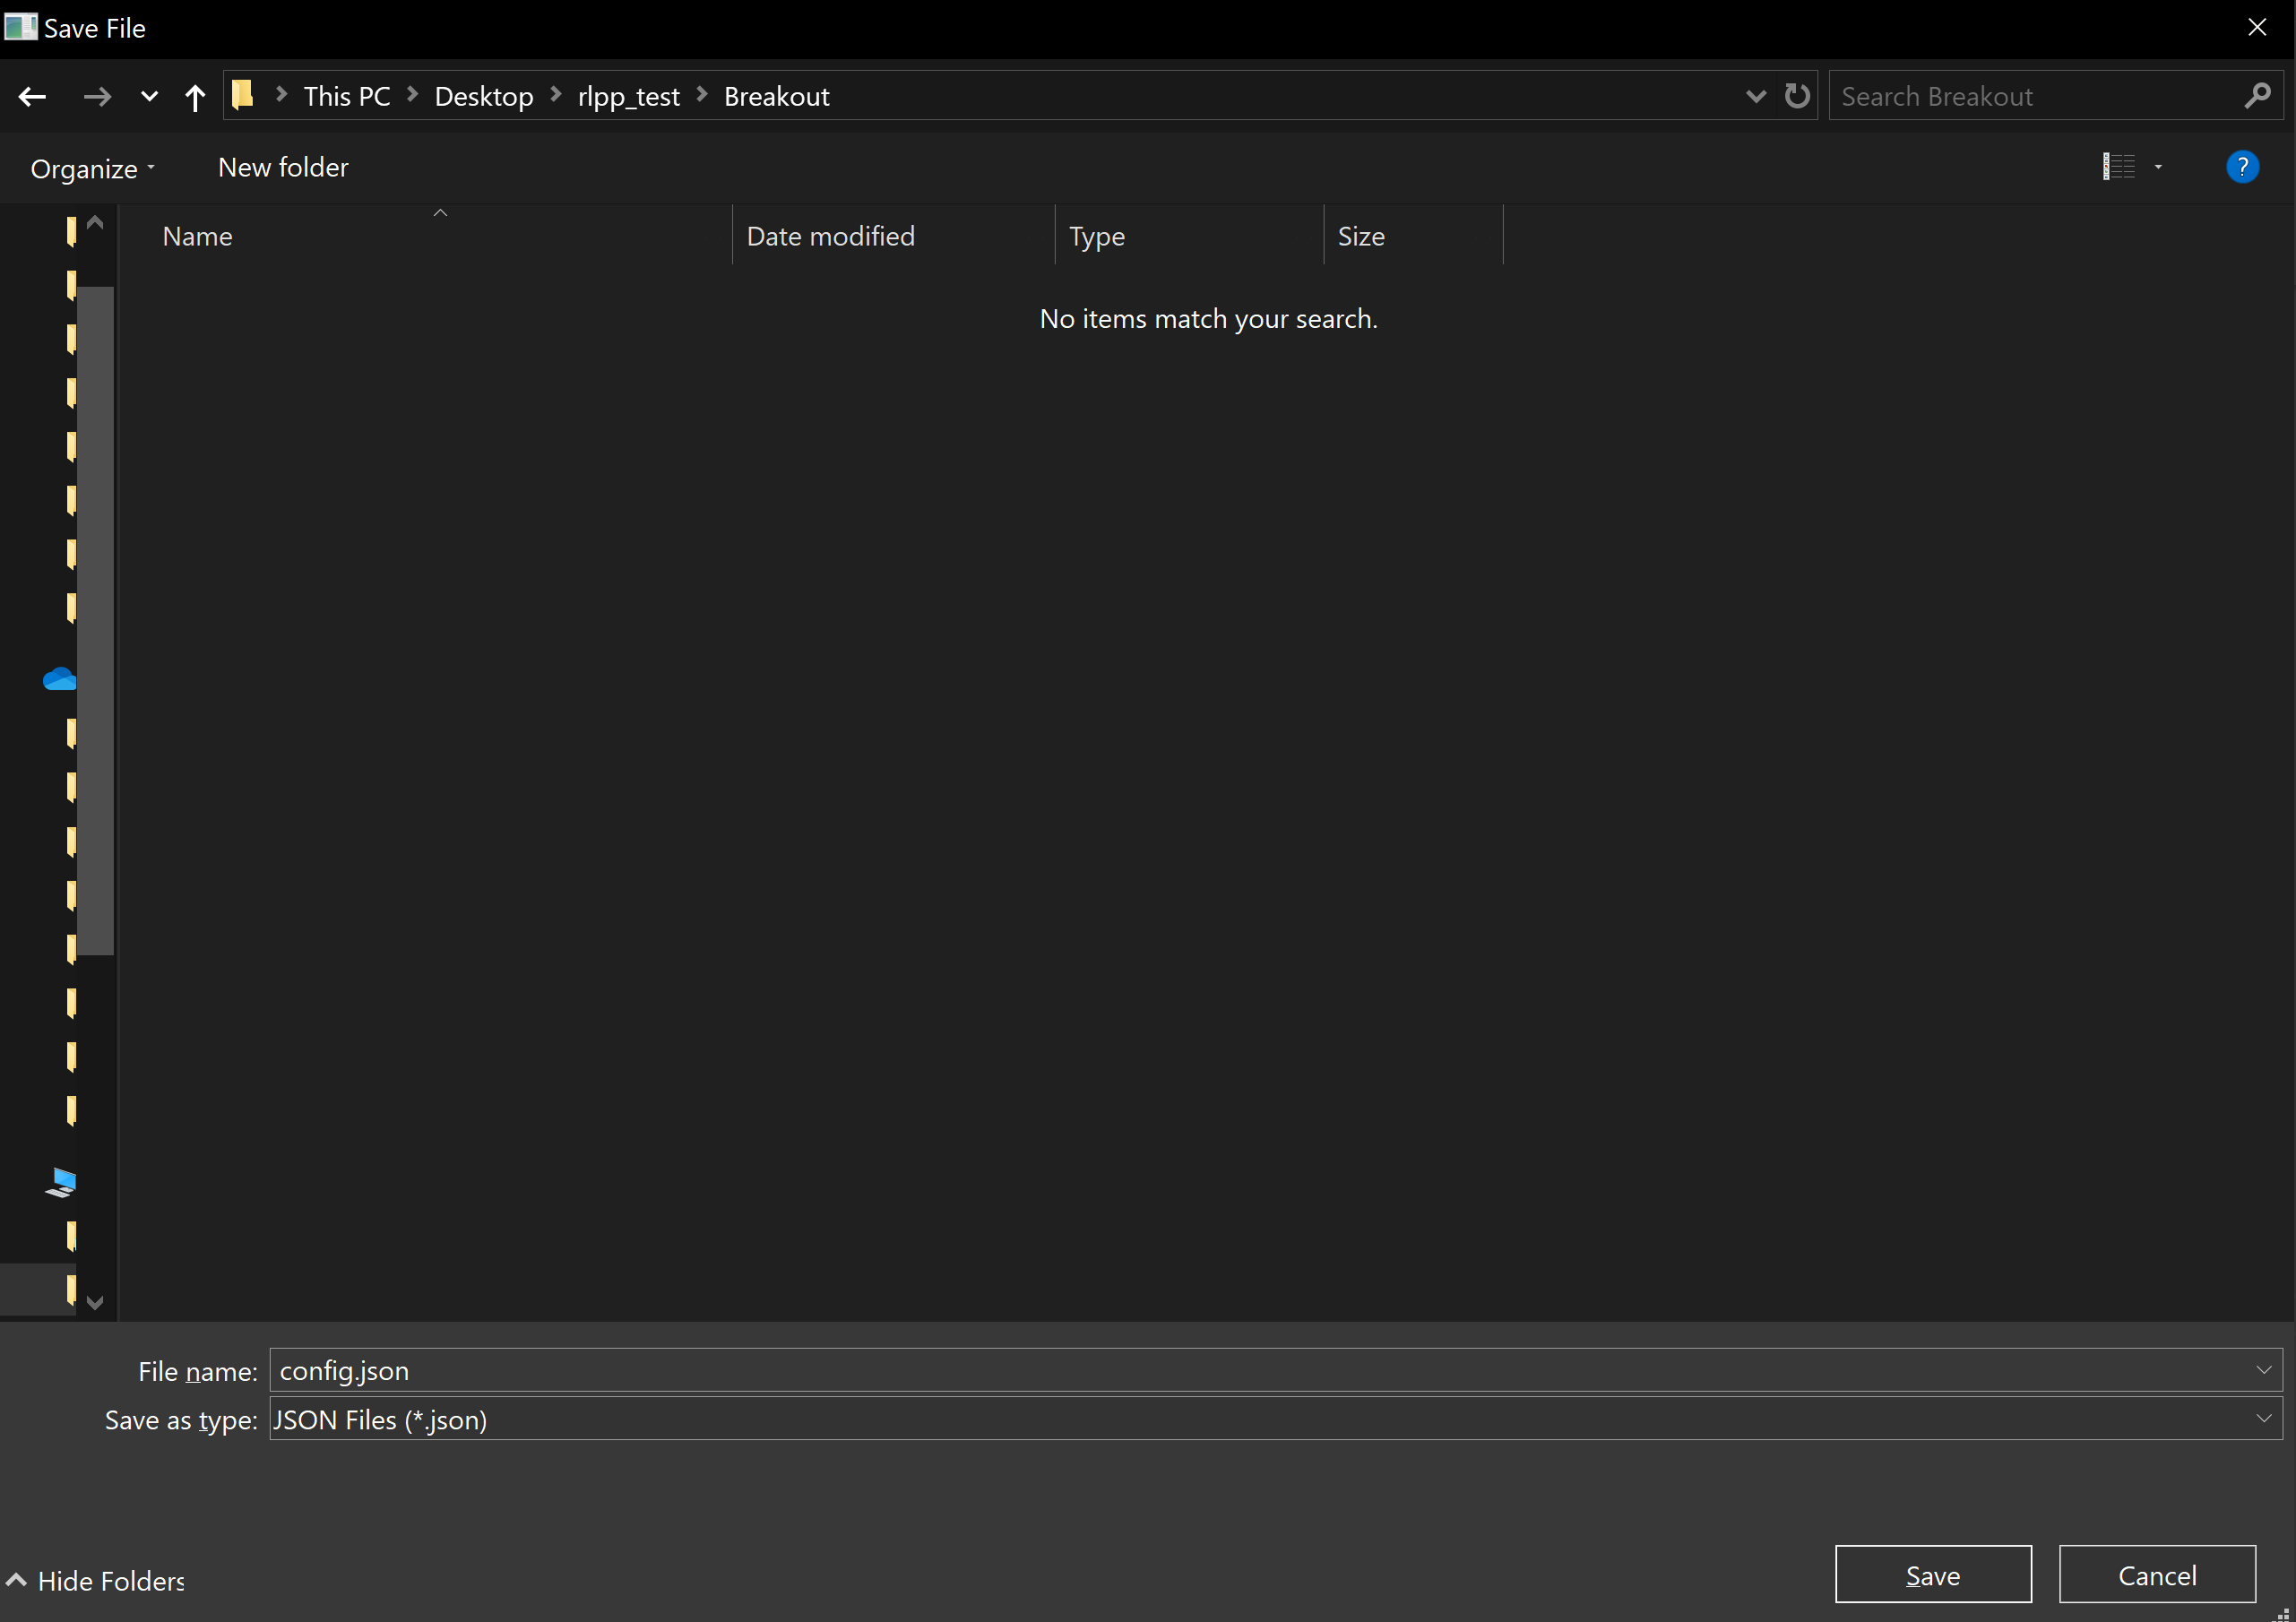
Once the layout of our game is done, it's time to export our work. Go to the menu bar (top left corner of the application window) and click on Export, then As regular Pygame objects. This will open a new dialog to store the file config.json. We encourage you to create a new folder with the name of your project to store the config.json file:
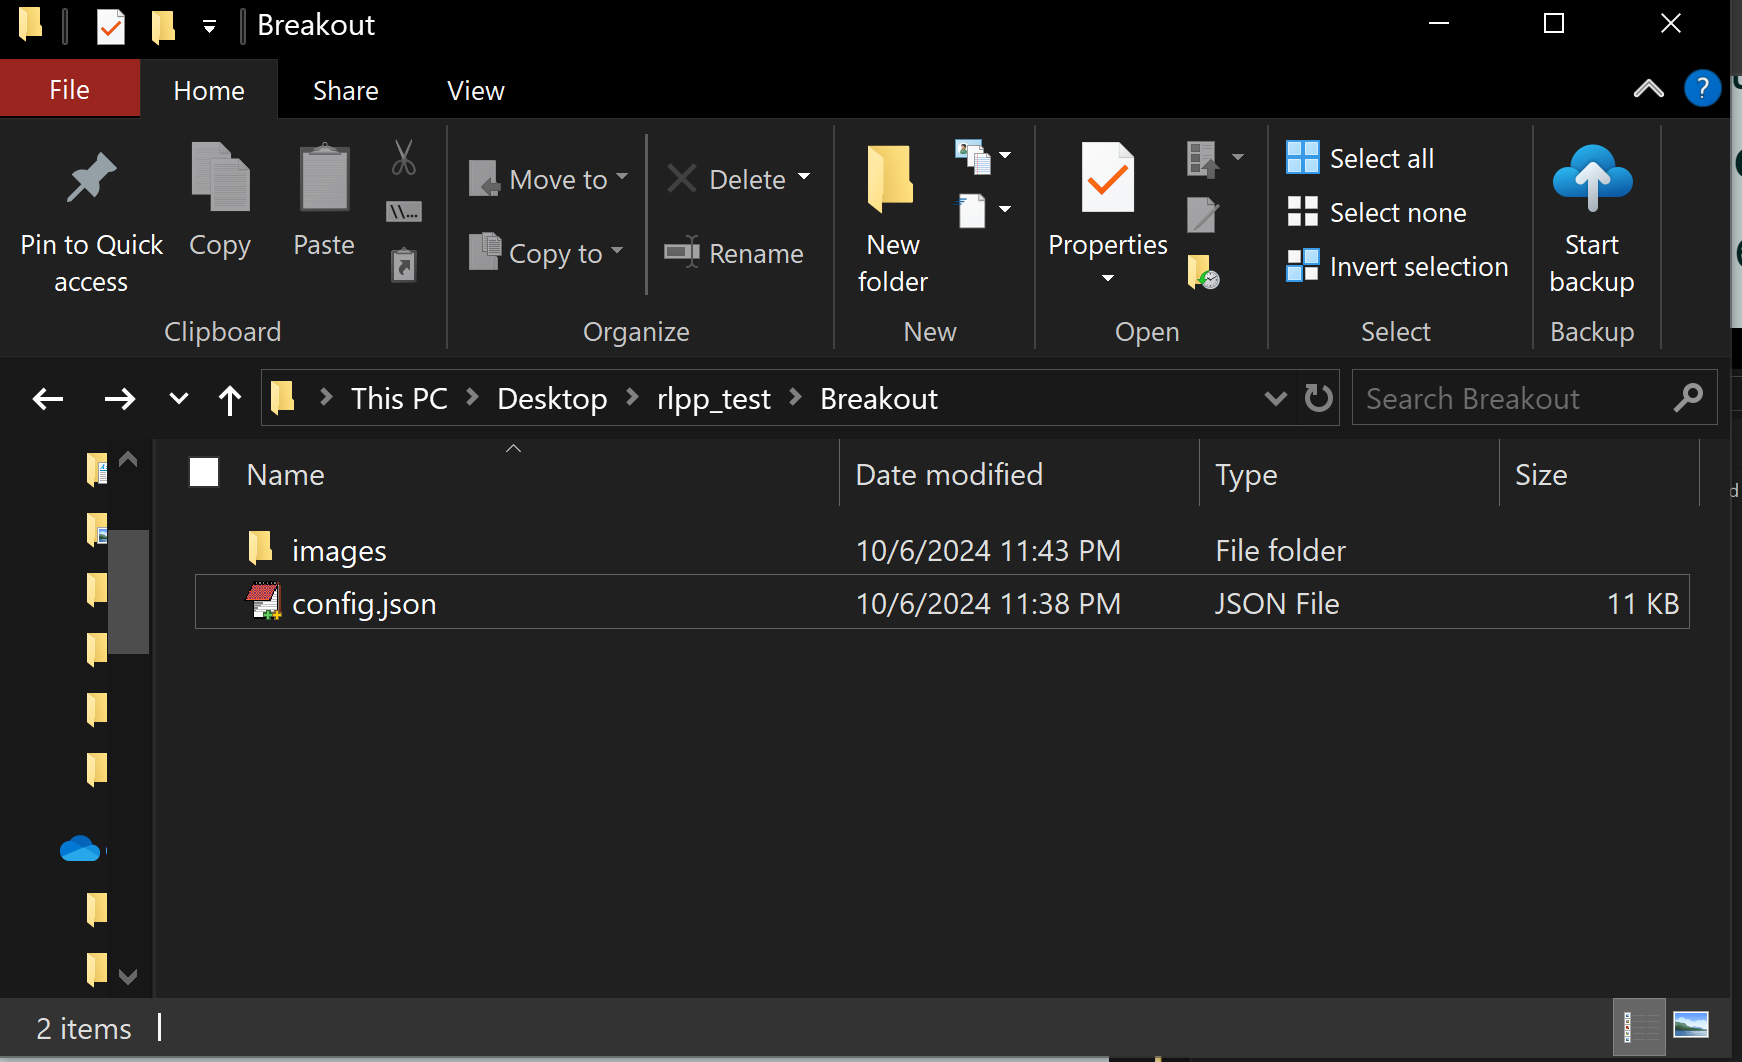
If you navigate to your folder, you will now find a config.json file and a folder images with the images for the sprites used to build the game layout
Processing our config.json file
The file config.json looks strange, especially if it's the first time you see it. The json format is a special type of document that is compatible across many applications, as it was originally created to have a standarized way to share documents over the internet while keeping it humanly readable. A config.json looks something like this:
                        {
                            "foods": [
                                {
                                    "position": [
                                    148,
                                    390
                                    ],
                                    "angle": 0,
                                    "img_path": "C:/Users/Uriel/Desktop/rlpp_test/Breakout\\images\\128_ball_32_32.png",
                                    "object_type": "food",
                                    "scale_factor": 1
                                }
                             ]
                        }
Let's begin by opening vscode (or our coding editor of choice) in the folder that contains the config.json file. Once there, create a new python file and open it with the editor. A good name for the file could be processing_metadata.py
It's time to write our first script! Our program needs to:
- call a special function called map_json(), which can be imported from the rlpp.processor submodule.
- pass the location for the config.json file to the function
                        from rlpp.processor import map_json
                        map_json("./config.json")
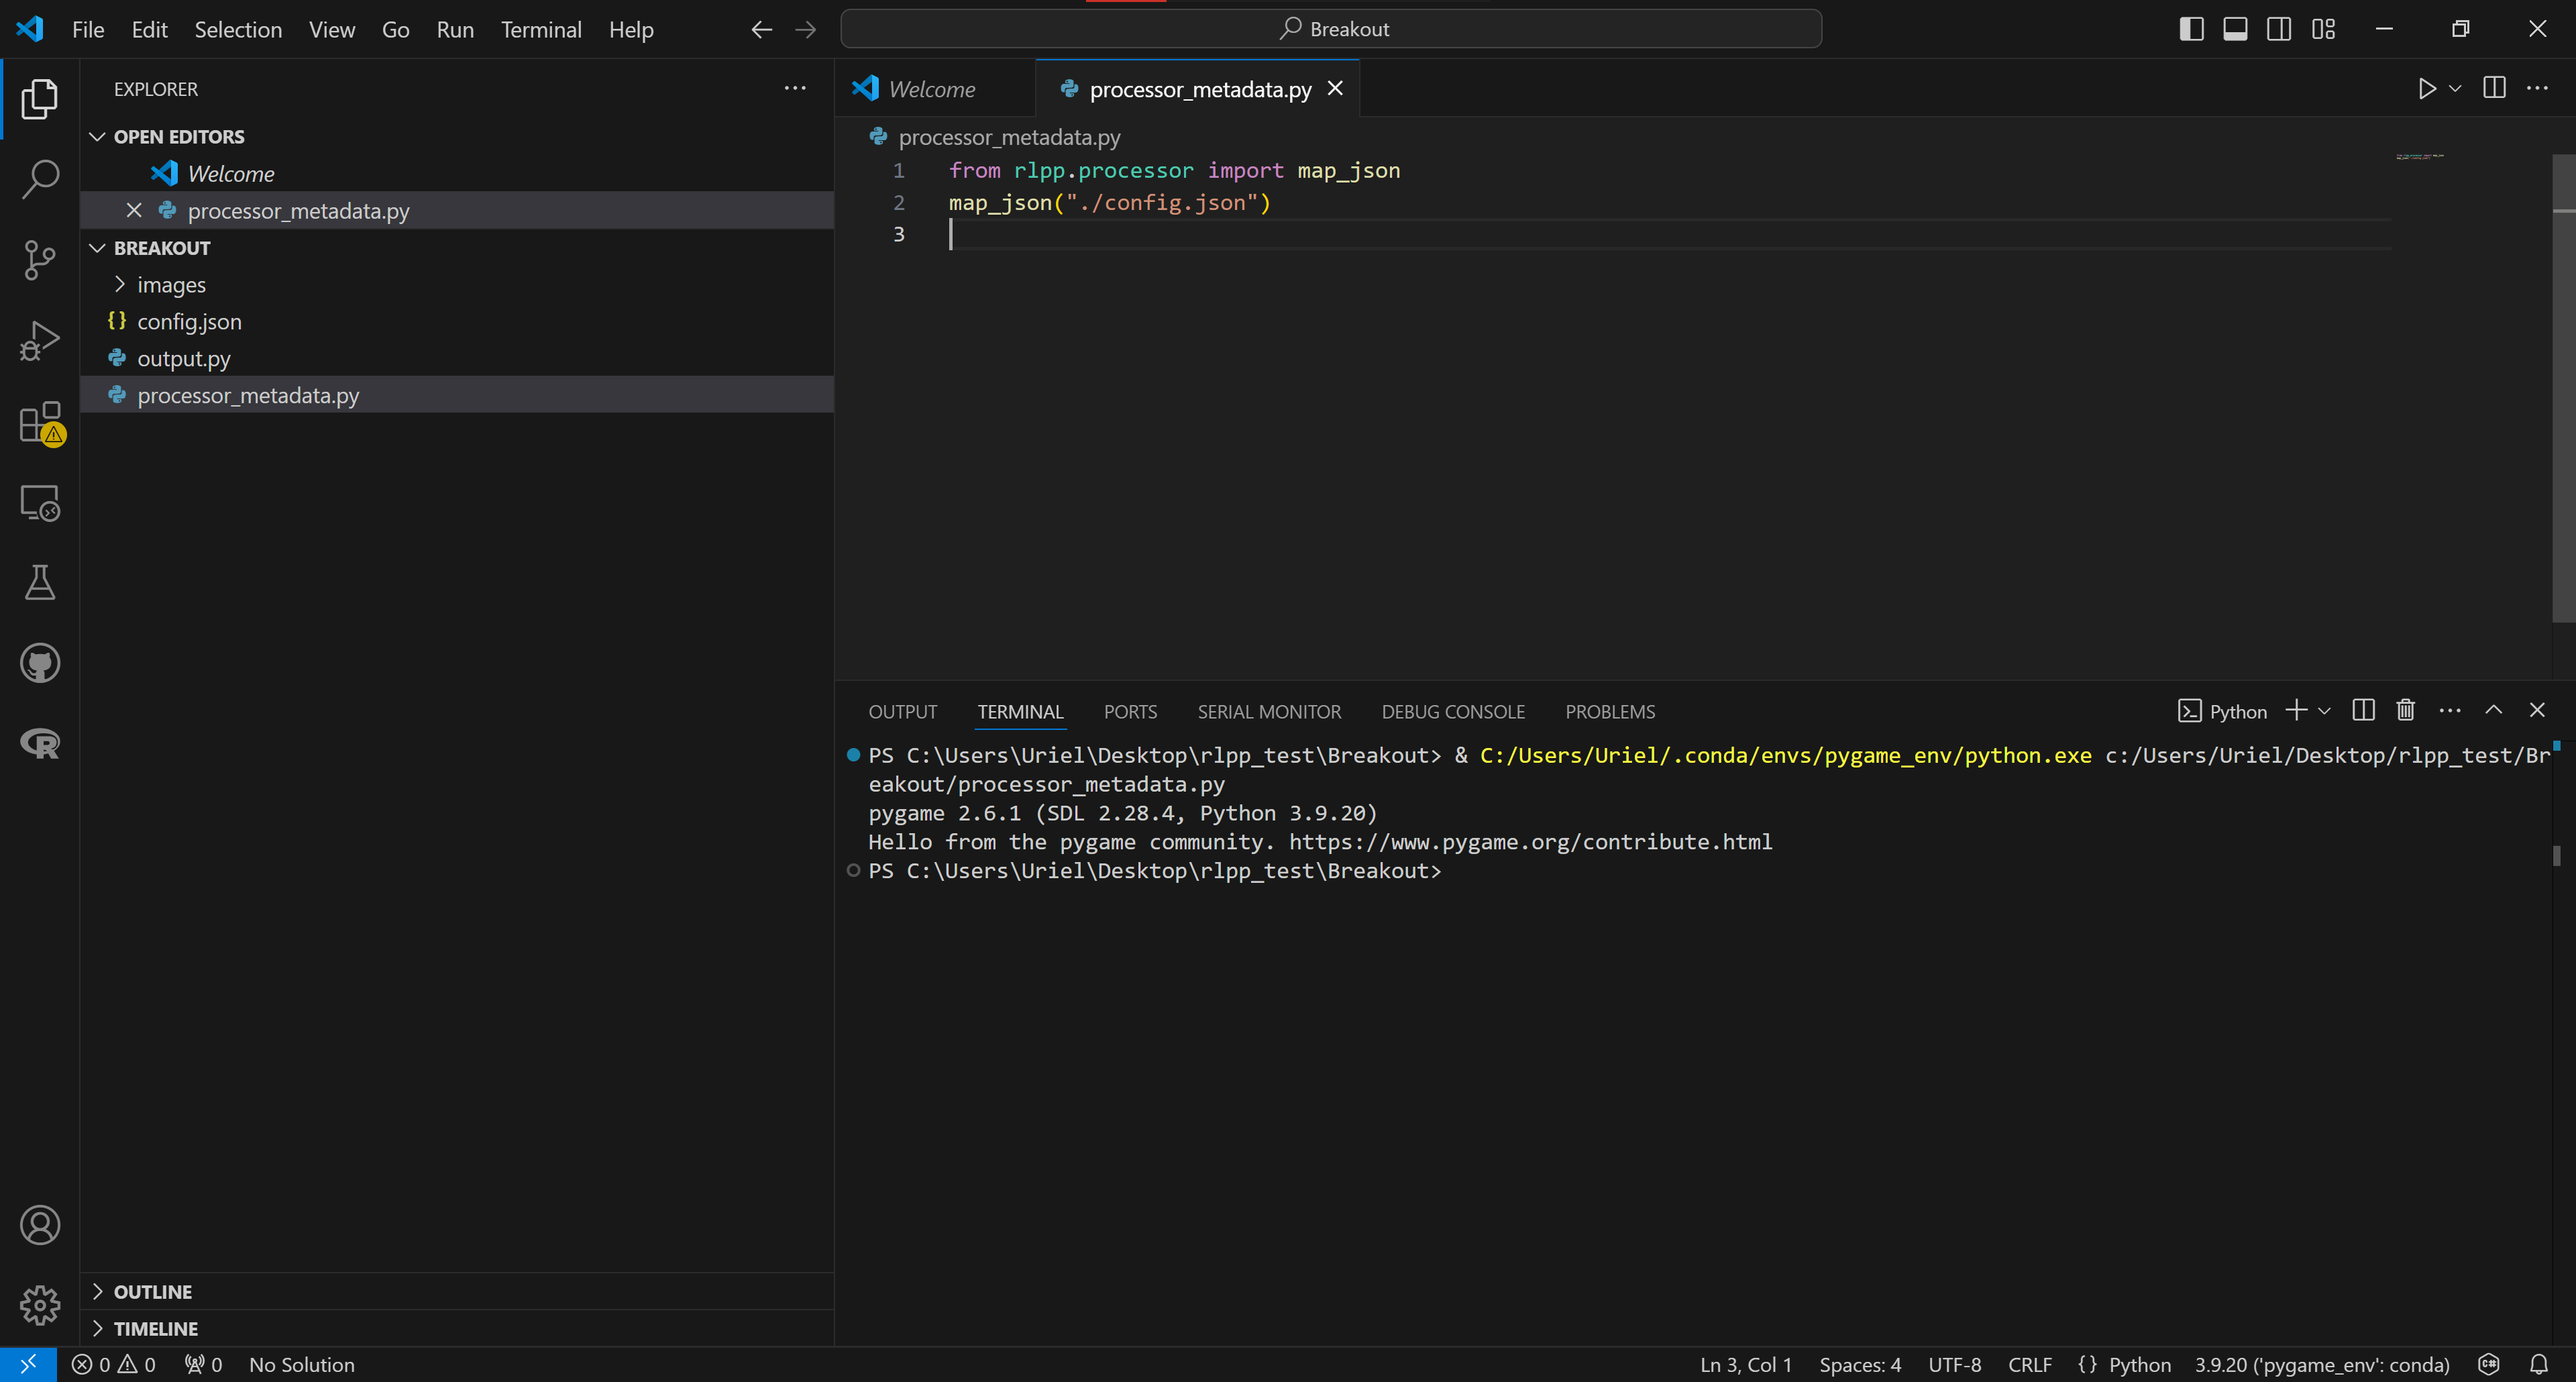
Congratulations! If the process ran smoothly, you now have a template with your layout to begin the programming process! Access the output.py file, and run it!
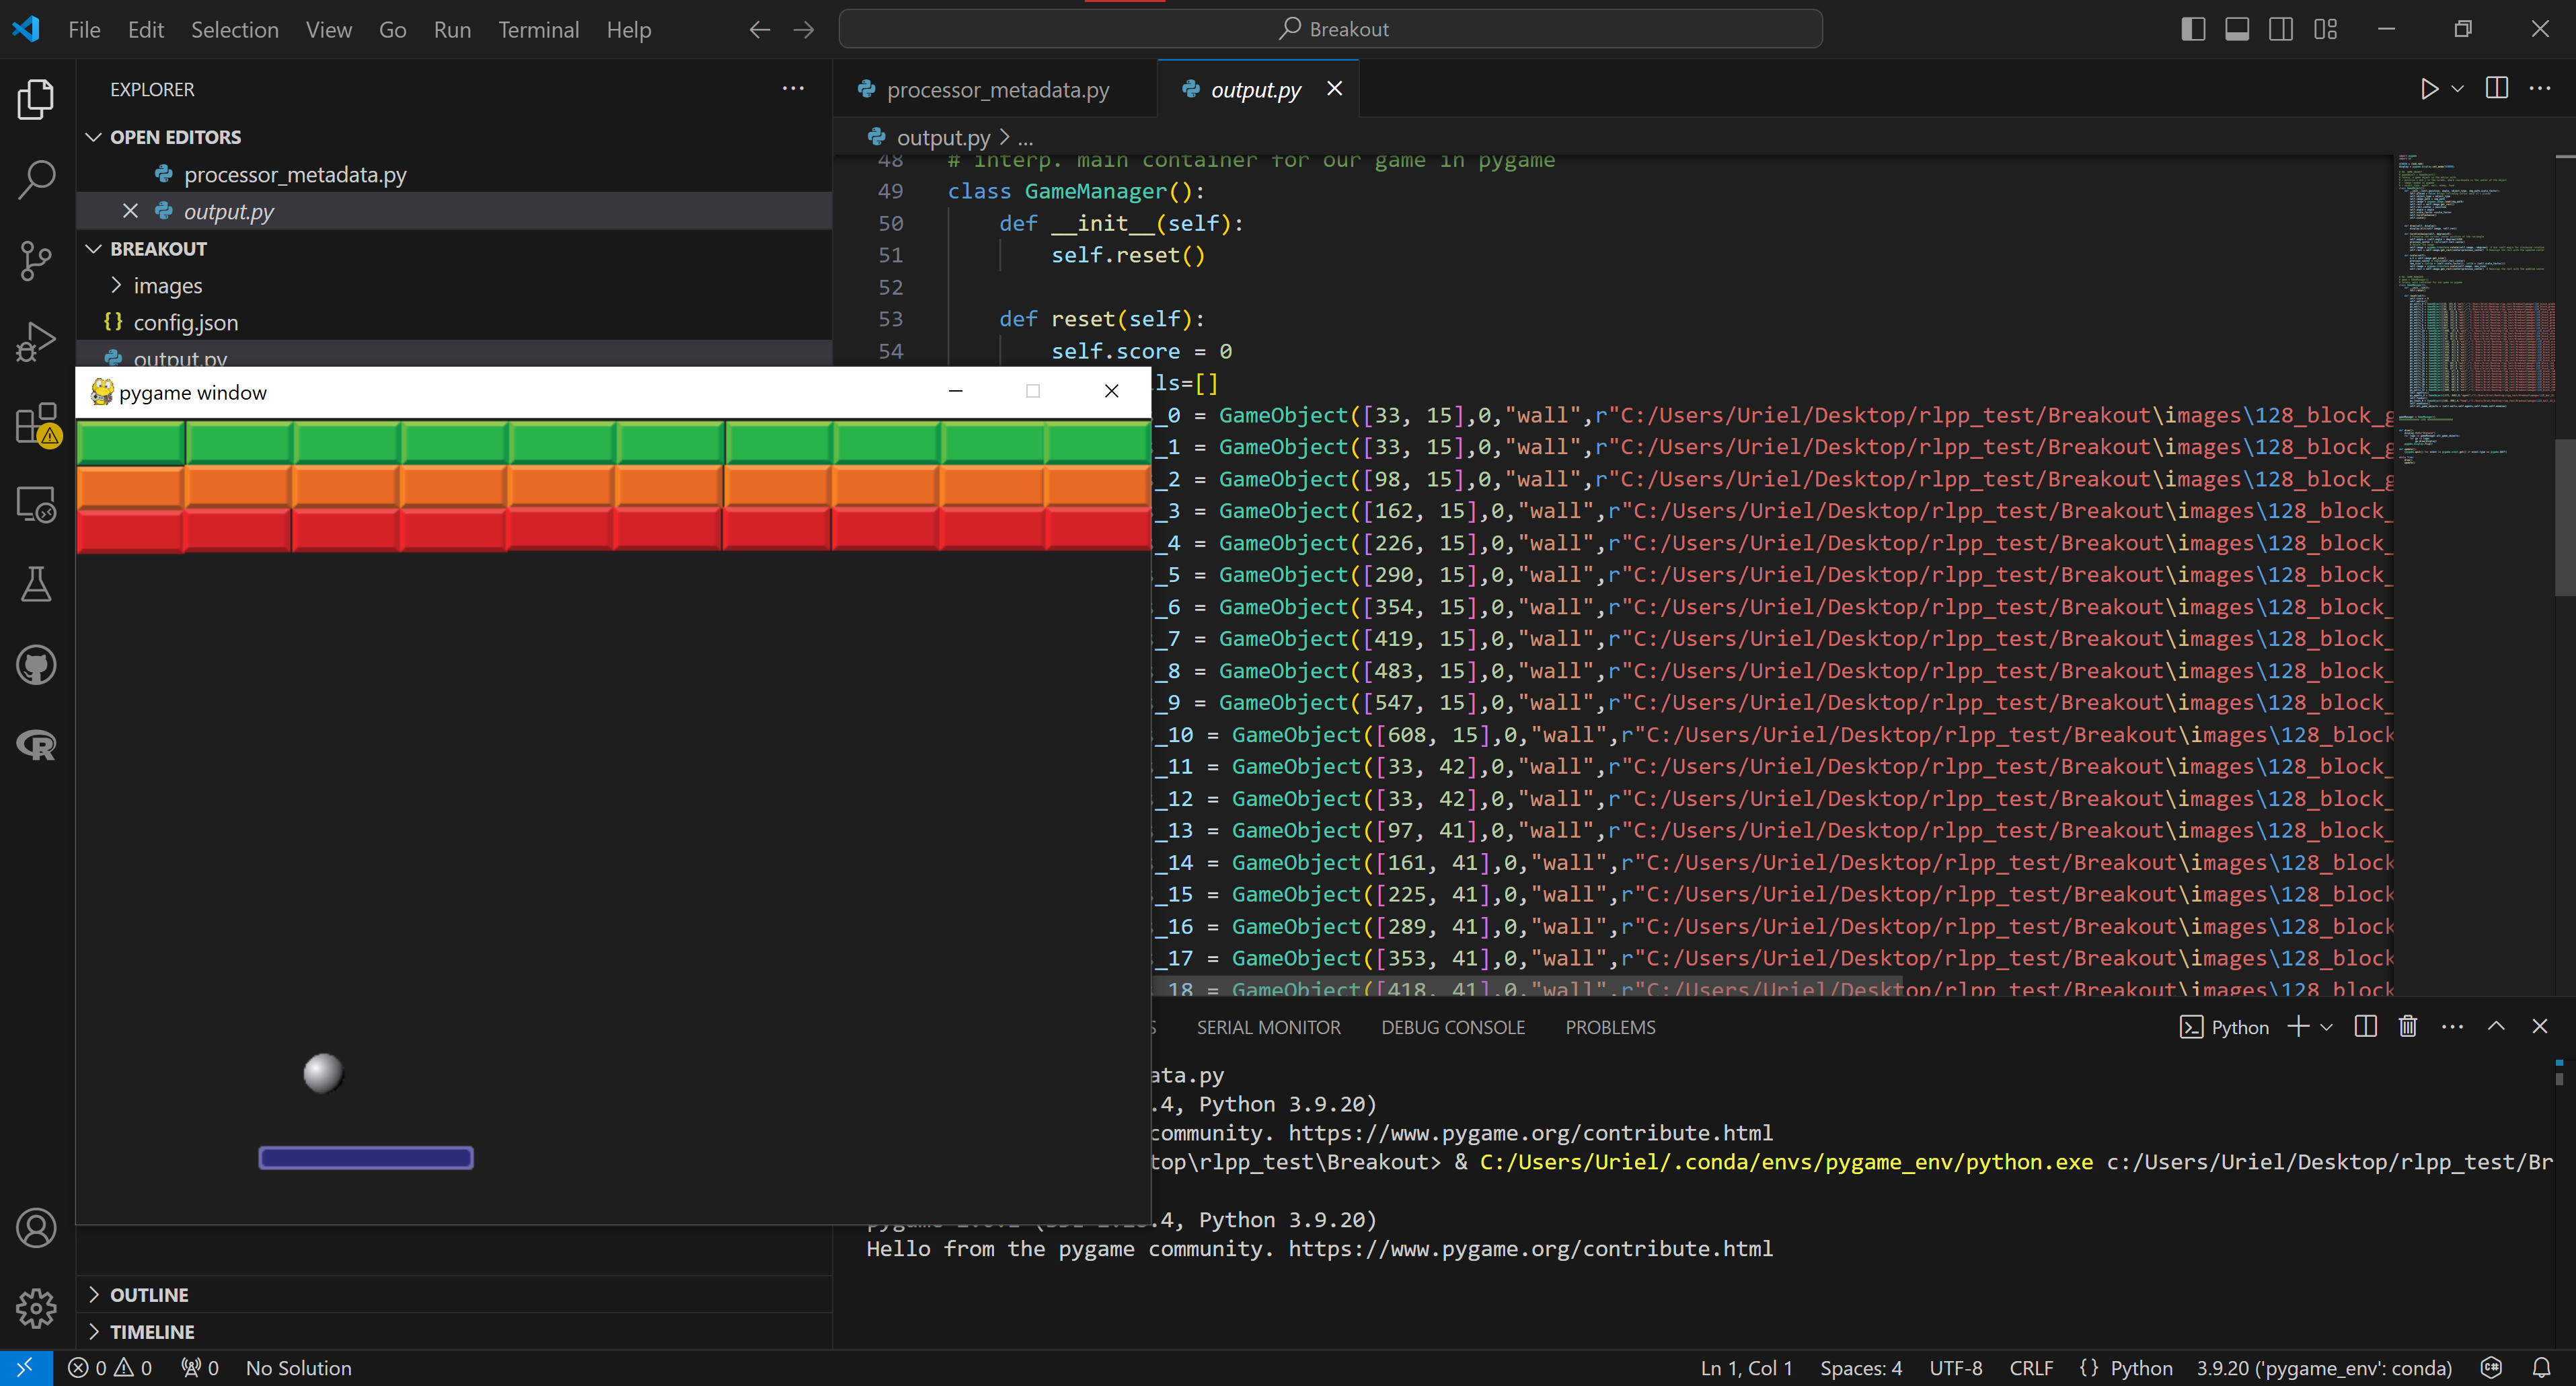
Making things move...
Our output.py file contains our game. The general structure of pygame requires us to define a gameObject. A gameObject is defined by:
- An image
- A hitbox to detect collisions, known as a "rect" in Pygame
- a function draw to render the pixels that represent the image
- a function update to change properties of the gameObject
- Any other imaginable set of attributes and methods...
class GameObject():
    def __init__(self,position, angle, object_type, img_path,scale_factor):
        ---- things that define our game object go here ----

    def draw(self, display):
        ---- things that help drawing this object in pixels go here ----

    def turnClockwise(self, degrees=0):
        ---- a special action that takes care of the rotation specified by the user in the designer, if any ----

    def scale(self):
        ---- a special action that takes care of the scale specified by the user in the designer, if any ----
Luckily, our program already contains a definition for a GAME_OBJECT. A combination of GAME_OBJECT has to be managed every frame, tracking things like:
- Frames per second
- updating all the game objects
- organizing the game objects
- receiving and controlling user input
- keeping scores, removing agents, etc.
class GameManager():
    def __init__(self):
        ---- calls the reset method to initialize the objects for the first time -----

    def reset(self):
        ---- defines all of the agents, walls, etc., defined by the user -----
In the near future, when we begin creating agents for AI, we will see how this object GAME_MANAGER completely encapsulates our game implementation, but for now this structure is better for us because is simpler.